TSplus Advanced Security - Getting Started
Prerequisites
TSplus Advanced Security requires the following prerequisites.
- Operating system: Microsoft Windows version 7, Service Pack 1 (build 6.1.7601) or Windows 2008 R2, Service Pack 1 (build 6.1.7601) or higher.
The following prerequisites will be automatically installed by the setup program if missing:
-
Runtime: .NET Framework 4.5.3 or higher
-
Microsoft Windows 7 SP1 and Windows 2008 R2 SP1 require an additional update to support SHA2 Cross Signing (KB4474419). This update allows TSplus Advanced Security built-in firewall and ransomware protection to run properly.
Please refer to the documentation for more details about prerequisites.
Step 1: Installation
The latest TSplus Advanced Security setup program is always available here: Latest TSplus Advanced Security setup program. Please download the setup program and follow the setup assitant wizard.
TSplus Advanced Security setup programe does not usually require to reboot your system to complete the installation.
Any new installation starts a fully featured trial period of 15 days. Please do not hesitate to contact us should you face any hurdle or if you face any issue will configuring TSplus Advanced Security.
Once the installation has completed, a new icon is displayed on your Desktop. Double-click on this icon to open TSplus Advanced Security and start configuring the security features.

Please refer to the documentation for full installation instructions.
Step 2: Configuring TSplus Advanced Security
You have launch TSplus Advanced Security and begun configuring features to protect your server from malicious activities and enforce strong security policies.
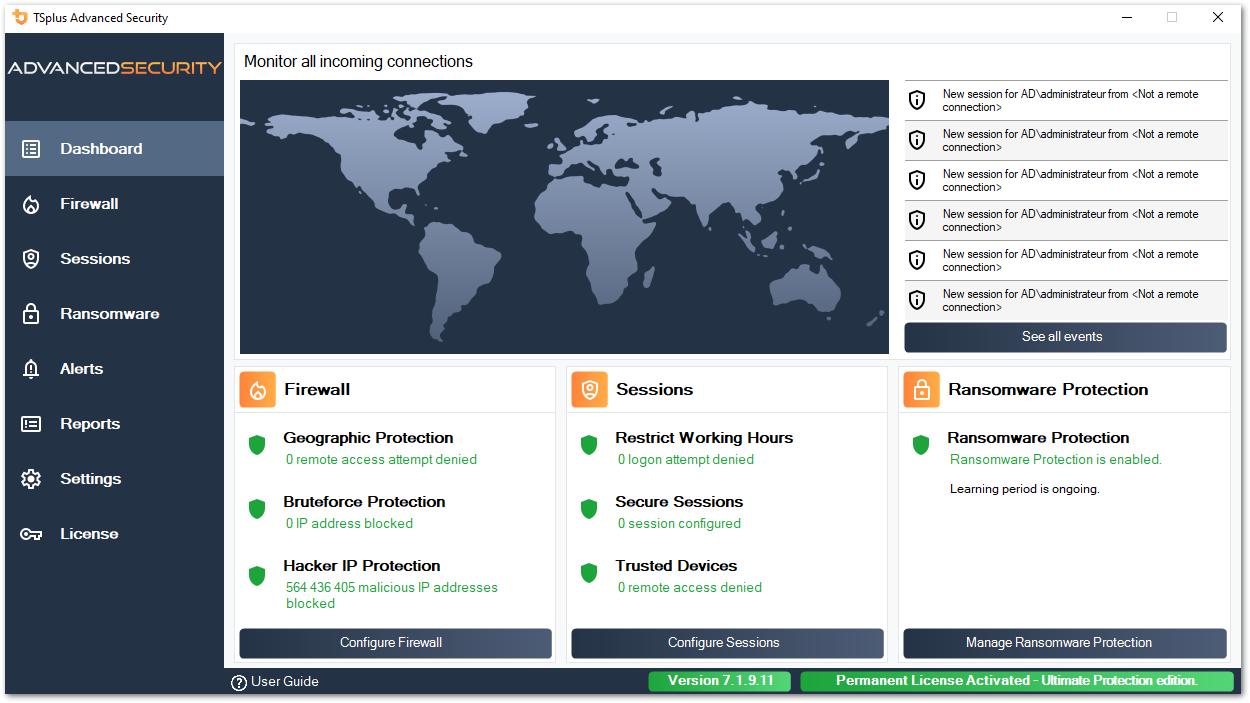
On the left column, the homepage allows a quick access to configure the Ransomware Protection, Bruteforce Protection and Geographic Protection features.
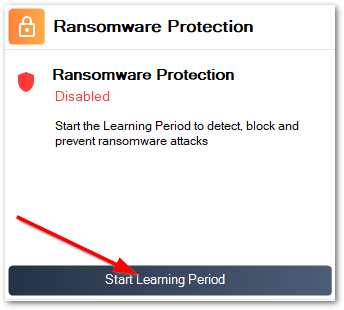
Start Ransomware Protection’s learning period to allow Advanced Security to identify legit applications and behaviors on your system by clicking on the following tile:
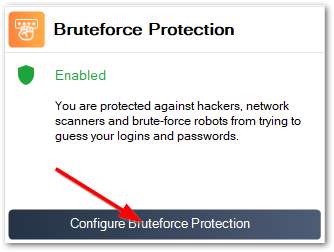
Bruteforce Protection is usually up-and-running following installation. Otherwise, click on the Repear defense against bruteforce attacks tile to resolve issues and applys the required system configuration. By default, this feature blocks attaquants following 10 failed login attempts.
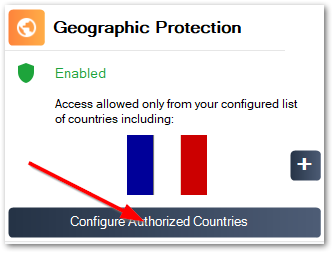
Finally, add your country in the list of authorized countries from where clients are allowed to connect. Click on the tile Authorize connections from another country and add your country to configure Geographic Protection
You are all set! Don’t forget to activate your license and to update to the latest version to keep Advanced Security protection at its best!
Step 3: Reviewing prevented threats
Now that you have configured the key advanced security features, avoided threats will be reported in the Dashboard.
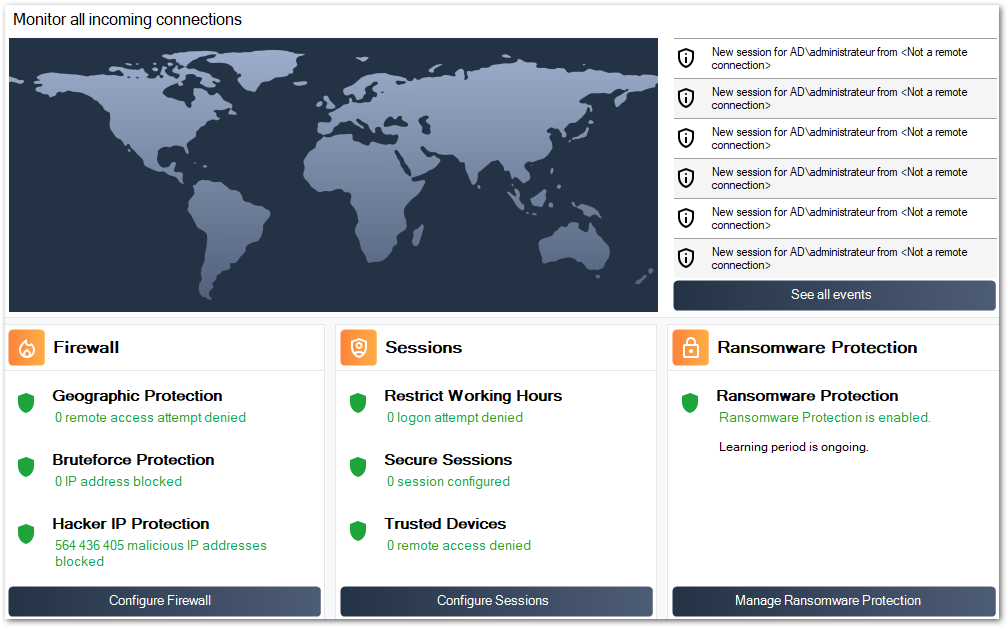
Also, the Hacker IP protection keeps the machine protected against known threats by blocking more than 500 000 000 known malicious IP addresses.
All the security events can be displayed by clicking on the See all events tile.
Step 4: Leveraging other security feature to enhance protection
At the bottom, four other security features can be accessed and configure to enhance your machine’s protection.
-
Adjust and monitor access privileges on your local filesystems, printers and registry keys to ensure every user has access to relevant resources, with the Permissions feature.
-
Define period of time where users are authorized to login with the Working Hours feature. Users will be disconnected passed their allowed working hours.
-
Customize and secure user sessions with the Secure Desktop feature. Customize, hide, deny access from items of the session interface for local users.
-
Validate the name of the remote client when a user connects to your machine with Endpoint Protection. This feature validates client machine names for each remotly connected user.
There is more! Switching to advanced mode grant you access to more capabilities.
Thank you for using TSplus Advanced Security!