Application Publishing
Overview
With TSplus, system administrators gain precise control over which applications users can access by publishing and assigning specific applications to individual users or groups.
In addition to managing application access, administrators can assign an “application launcher” to each user, which determines how users interact with their assigned applications.
TSplus offers five types of application launchers:
- Microsoft Remote Desktop: Provides users with a full remote desktop experience, regardless of the applications assigned.
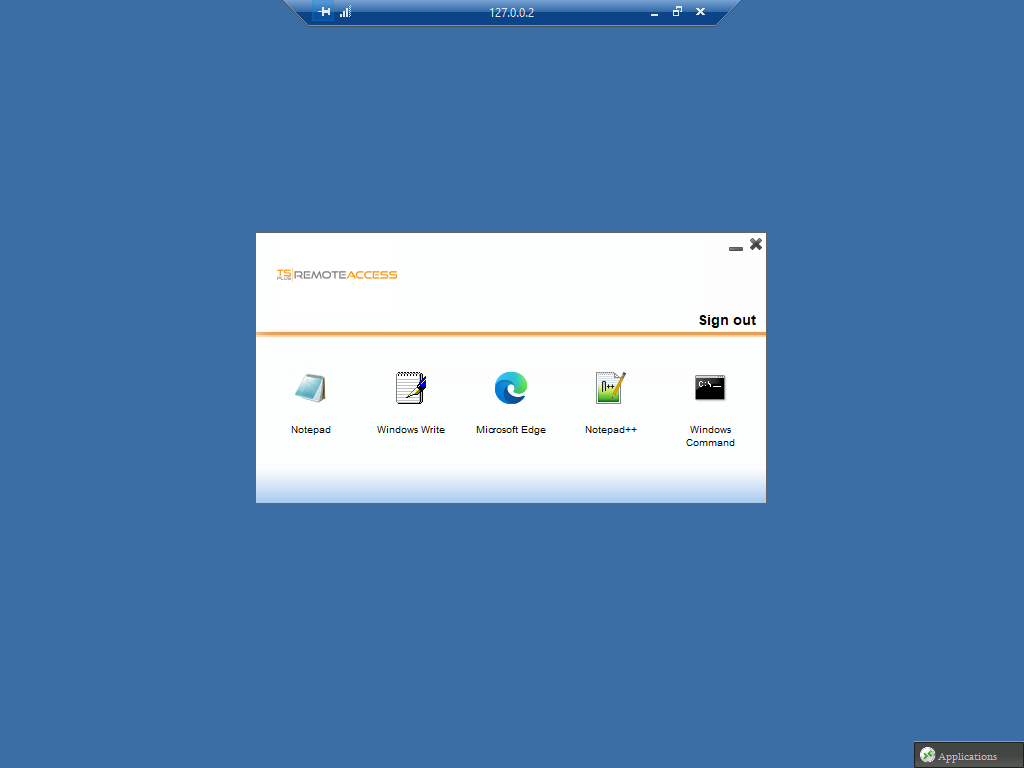
The other application launcher will each present a different interface for users to launch their assigned applications.
- Remote Taskbar: Shows a custom taskbar fixed on the right side of the screen. Click here for more information
- Floating Panel (recommended): Shows a minimalist floating panel on the left side of the screen. Click here for more information
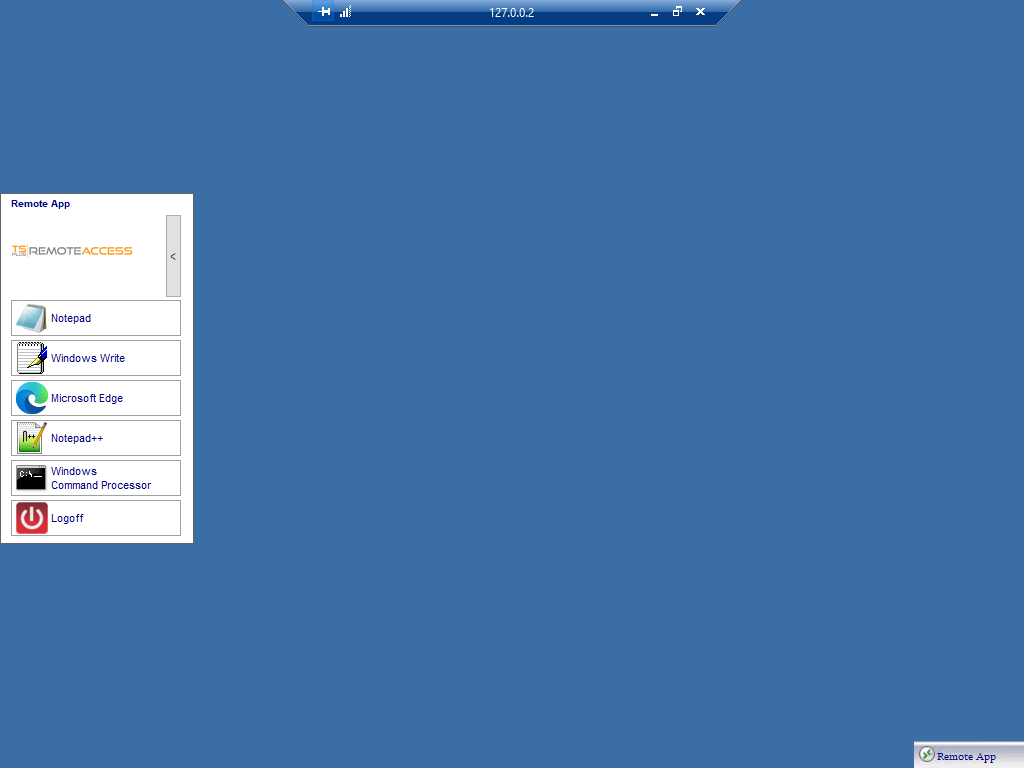
- Application Panel: Shows a panel in the center of the screen. Click here for more information
- Folder Panel: Shows a basic light windows explorer in the center of the screen, making user’s desktop files accessible as well as their assigned applications. Click here for more information
Important: Each user or group can have only one application launcher assigned.
If no launcher is assigned, all applications allocated to the user will automatically open when the session starts.
Managing Applications using the Admin Tool
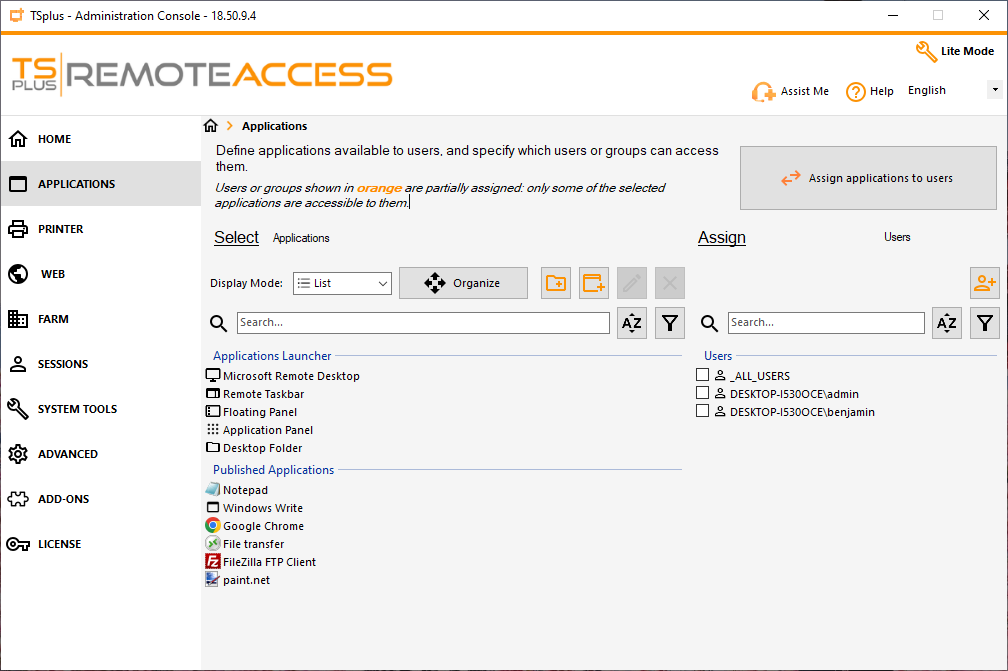
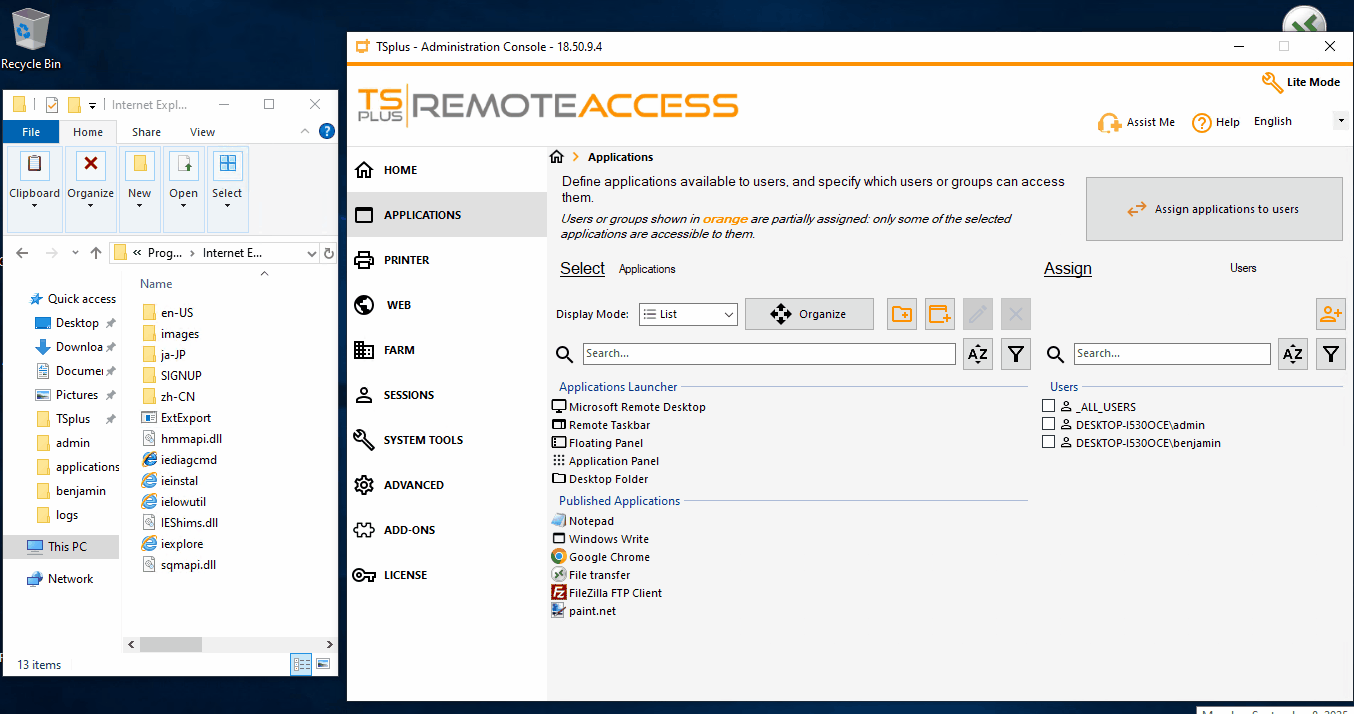
You will be able to add, edit or remove published applications using the AdminTool, by clicking on the “Applications” tab, revealing the “Applications” section:
Add a new application
To add an application, you can either:
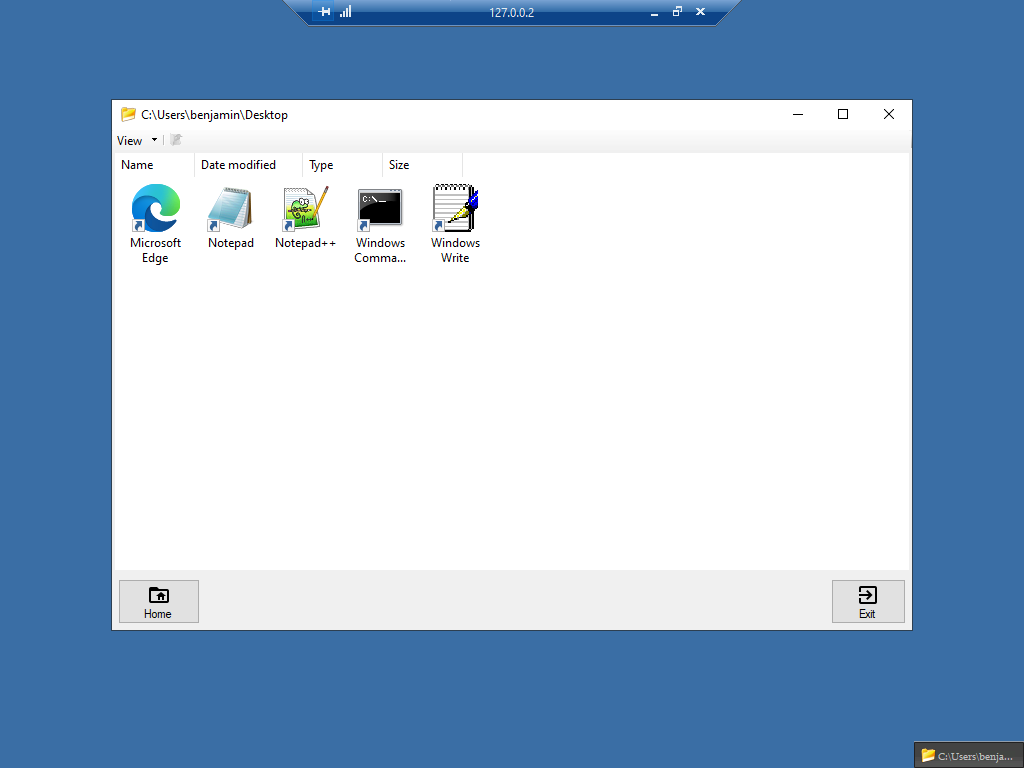
- Use the drag&drop system, and drag a file from Windows explorer or your Desktop to the application list in the AdminTool.
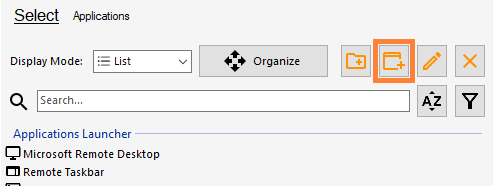
- Click on the “Add new application” icon button
In both cases you will be greeted with following interface, inviting you to fill all the application information:
- The executable file path (mandatory)
- The start directory (optional) if your the executable file path is absolute)
- The display name (mandatory), which is the name to be used by the launcher panels
- A custom icon (optional) if you don’t want to use the icon currently used by the executable file you specified)
- Command line options (optional) if you need extra arguments to be passed when the user executes the file
If command-line parameters contain a path with spaces enclosed in double quotes, the quotes must be escaped by doubling them. A limitation is that the “Test” button does not account for this syntax. - The Windows state (Maximized by default)
- The application folder name in which the application is*****
*Published applications can be regrouped in an “application folder” for better application management if you have lots of application published.
A “Test” button is available if you want to check if the application path and the command line options are correct.
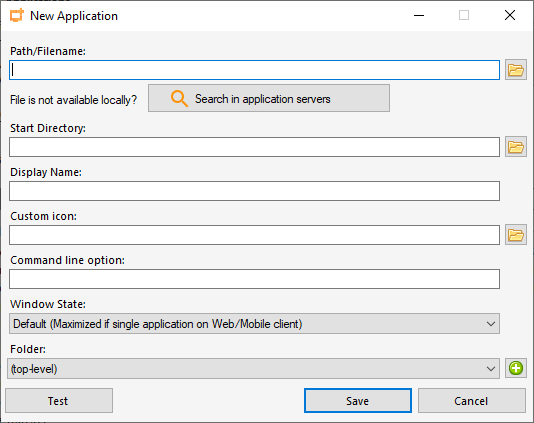
Once all the information is filled, click on the “Save” button to publish the application:

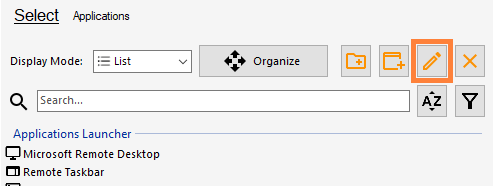
Edit an existing application
Once published, application information can be edited by selecting the application to edit, the clicking on the “edit” icon button:
The applications launchers “Remote Taskbar”, “Floating Panel”, “Application Panel” and “Folder Panel” can also be customized using the same “edit” button.
Simply click on the launcher you want to customize to select it, then click on the “edit” icon button.
Rename an existing application
To quickly rename an existing application or an application folder, you can select the application and press “F2” on your keyboard.
You can also simply select the application and click on the “edit” button to change its “display name”.
Remove an existing application
If you want to remove applications and/or application folders, simply select what you want to remove, then click on the “delete” icon button.
The “Delete” keyboard button also works.
This action supports multi selection

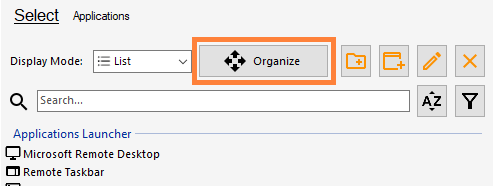
Application and application folder reordering
If you are not satisfied with the application icon order displayed in the application launchers, you can reorder the applications using the “Organize” button.
Just click on the “Organize” button to toggle the “organize” mode.
Now just drag and drop the application or application folder you want to move.
Once done, re-click on the “Organize” button to save the new application order.
This action supports multi selection
Application folders
Published applications can be regrouped in application folders to simplify application management.

Create new application folder
To create an application folder, click on the “Add new folder” icon button.
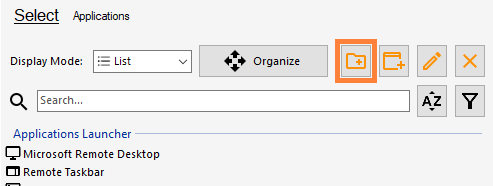
This will create a new empty application folder.
Check the content of an application folder
You can navigate inside the application folder by double clicking on it. This way you will be able to see the content of any application folder.
Manage your application folder
Once your application folder is created and named, you can add existing applications in your new folder by simply selecting the applications you want in your folder, and drag&drop them in the folder.
If you want to remove applications from your application folder, navigate first in the application folder, then select the applications you want to remove, and drag&drop them in the ”..” folder. This will put the selected applications back in the root folder.
This action supports multi selection
Search and filter
In order to ease application management, a search bar is available as well as a filtering button, allowing you to show only applications, or only application folders.
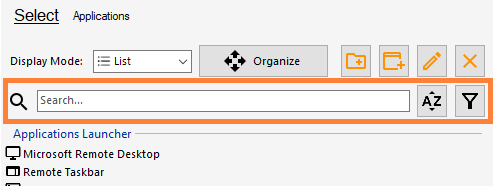
When searching for a keyword, only applications and application folders that contain the keyword in their name will remain visible; all others will be hidden. If an application within a folder also contains the keyword, the folder will remain visible as well.
Assign users and groups to your applications
The documentation on the assignation system is available on a dedicated page. Click here to access the documentation