Assigning Applications to Users or Groups
Once you have published some applications, you can assign them to one or more users and/or groups.
Assign users or groups to applications
Every assignment are to be done in the right side panel of the “Applications” section of the AdminTool. This right side panel shows every users and groups currently having applications assigned.
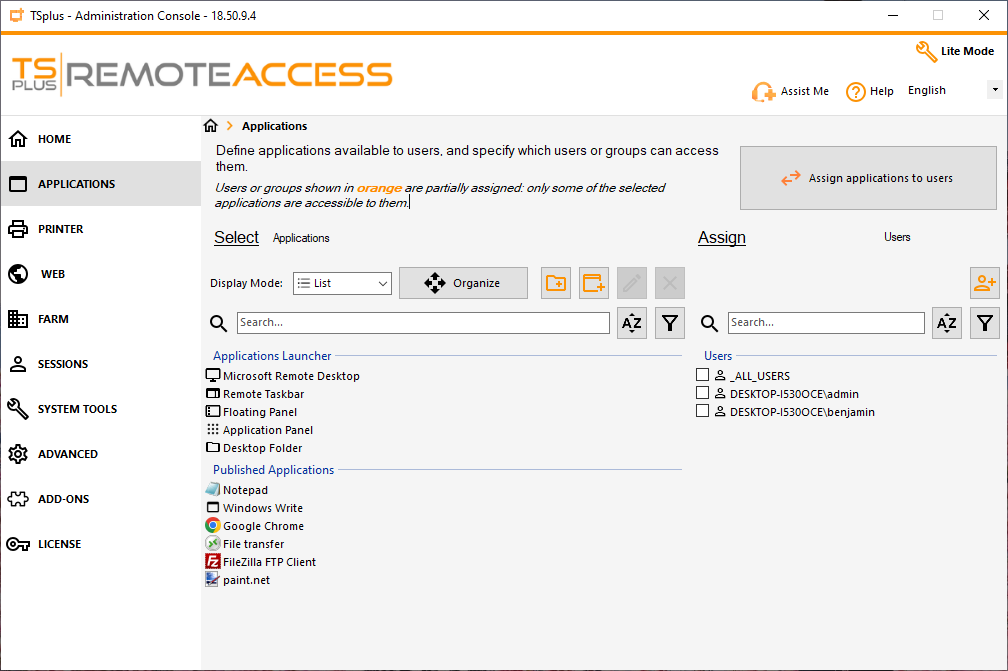
In order to assign users or groups, you will need first to add the users/groups you want to assign application for.
Add users or groups
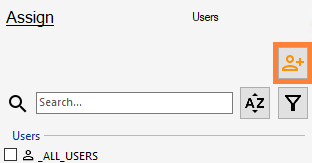
To add users or groups, click on the “Add user” icon buttons
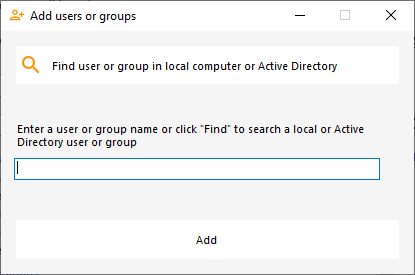
You will be greeted with this interface, allowing you to either find a user or group via the user/group picker, or directly write the name of the user/group you want to add.
Local or Active Directory users must be selected using the Find Local or Active Directory Users or Groups button.
Only external users can be entered directly into the text box.
The _ALL_USERS special username
In the list of users, you will always find available the “_ALL_USERS” user. This user is not a Windows user, but a virtual user. If you select an application and tick the “_ALL_USERS” username, then the application will be available to every users.
Assign users or groups to applications
Once users have been added, assign them applications by:
- selecting on the left panel the applications you want to assign to your user
- checking on the right panel the box next to his username to assign the selected applications to that user
Ex: if I want to assign notepad to the user “benjamin”, simply select the “notepad” application on the left, and check the box next to the username “benjamin” on the right
To unassign users, simply uncheck the box next to the user name.
This action supports multi selection
This means you can select multiple applications, and don’t have to assign application one at a time.
Assign applications to users or groups
If you would prefer to select users or groups and assign them applications, you can do so by clicking on “Assign applications to users”.

This will flip the left and right side panel.
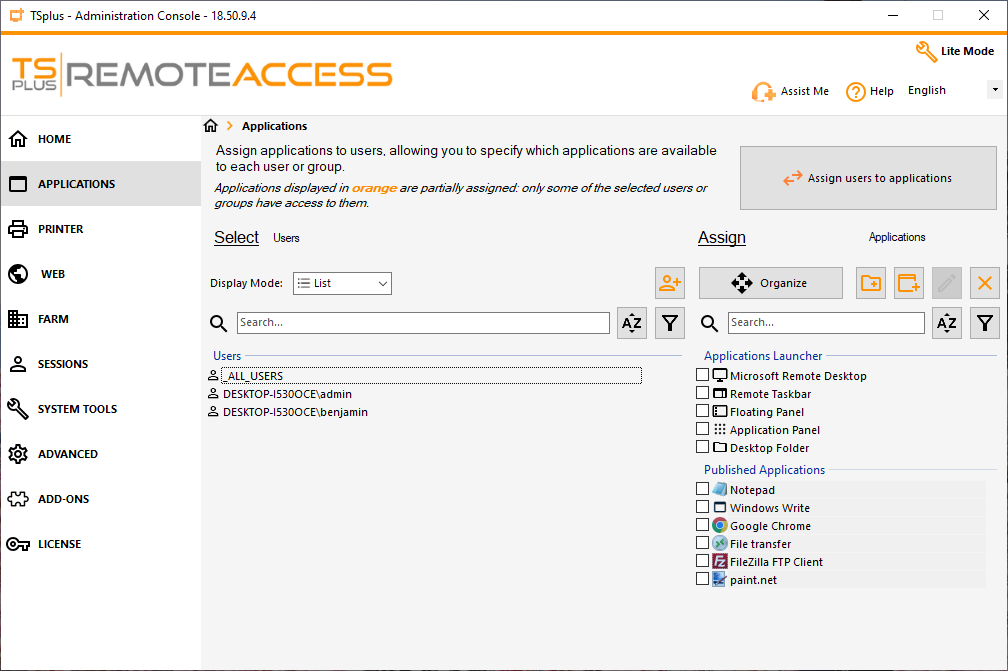
After clicking on the button, in order to assign applications to users:
- selecting on the left panel the users or groups you want to assign to your application
- checking on the right panel the box next to your application name to assign the selected users or groups to that application
Ex: if I want to assign notepad to the user “benjamin”, simply select the user “benjamin” on the left, and check the box next to the application name “notepad” on the right
To unassign applications, simply uncheck the box next to the application name.
This action supports multi selection
This means you can select multiple users, and don’t have to assign users one at a time.
Search and filter
In order to ease users assignation management, a search bar is available as well as a filtering button, allowing you to show only users, or only groups.
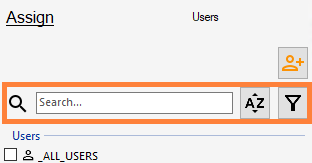
You can also use the filter button so that only assigned/unassigned applications (or assigned/unassigned users if you switch view) are shown.
This will help you manage your assignations in case you have either lots of users having applications assigned, or simply lots of published applications.