TSplus Virtual Printer
The TSplus virtual printer is a new alternative to classic remote desktop printing solutions, which can be unreliable, hardware dependent and difficult to manage. The virtual printer’s unique compression algorithm improves the transit speed of remote print jobs by minimizing data transfer while maintaining image quality.
Note: The TSplus HTML5 client is not supported and it requires the TSplus Universal Printer.
Benefits
- Single-user and multi-user environment support.
- Zero configuration is required.
- Works with any virtual machines.
- Mixed 32 and 64-bit environment.
Pre Requisites
TSplus virtual printer OS compatibility list, in 32 and 64-bit::
- Windows Vista
- Windows 7
- Windows 8
- Windows 8.1
- Windows 10
- Windows Server 2008
- Windows Server 2008 R2
- Windows Server 2012
- Windows Server 2012 R2
- Windows Server 2016
- Windows Server 2019
The TSplus Virtual Printer is compatible with:
- The TSplus generated client
- The TSplus RemoteApp client
- The TSplus RemoteApp plug-in when using the Web Portal
- The Microsoft Remote Desktop client
It is not compatible with:
- The TSplus HTML5 client
- Hard Coded Thin-client devices where the client side setup cannot be installed.
Two Parts
The TSplus Virtual Printer is made up of two components:
- A server side component that comes installed on TSplus 12.70 Edition.
- A Desktop component that is installed on the end-user’s Windows Workstation.
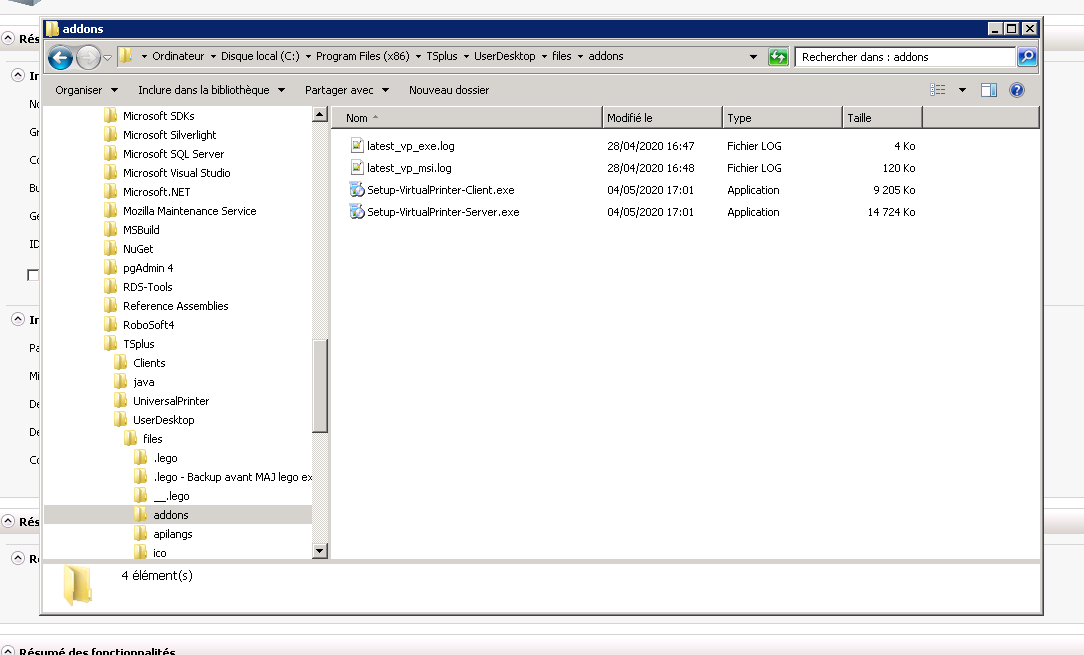
Both setups are available directly in the server side in the “C:\Program Files (x86)\TSplus\UserDesktop\files\addons” folder and named “Setup-VirtualPrinter-Server.exe” and “Setup-VirtualPrinter-Client.exe”:
The Client setup is also available from your TSplus web server, using the link below:
“yourtsplusserveriporpublicdomain”/addons/Setup-VirtualPrinter-Client.exe
You can also perform a silent install of the Client via a command line, by executing the setup with the following parameters:
/SUPPRESSMSGBOXES /VERYSILENT /SILENT /no_ui
Getting started
TSplus virtual printer is automatically installed during the first TSplus installation, and directly available during the trial period.
Once TSplus is installed, you will need to install the “Virtual Printer Client” on user’s computer.
When you connect remotely to your TSPlus server using either Microsoft RDP client (mstsc), TSplus generated client or Web Portal RemoteApp plug-in, you will be able to print from your remote session to your local printer using the “Virtual Printer” printer. By default, the local printer selected is the local default printer.
You have 2 ways to change the local printer mapped to the “Virtual Printer” printer based on your situation:
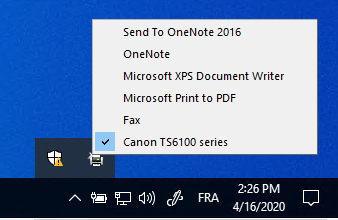
1.If you are using the full desktop, then you can select which local printer to be used by using the virtual printer icon in the systray:
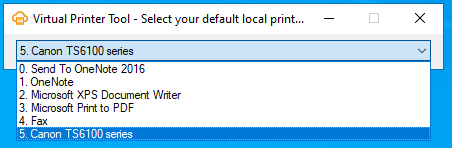
2.If you don’t have access to the full desktop, you will need to use the “Virtual Printer Tool” named “VirtualPrinterTool.exe” located in “C:\Program Files (x86)\TSplus\UserDesktop\files”. Note: you can either assign the application to the user, or make it run automatically on logon through the Virtual Printer advanced settings:
Configuration
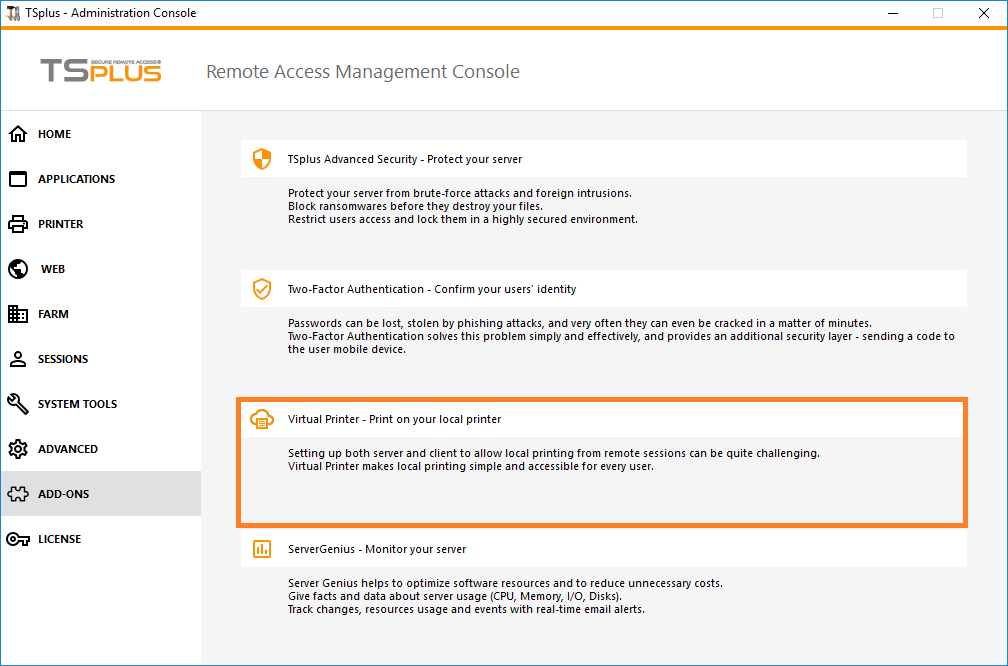
To access to the TSplus Virtual Printer control panel, please navigate through the AdminTool: ADD-ONS > Virtual Printer
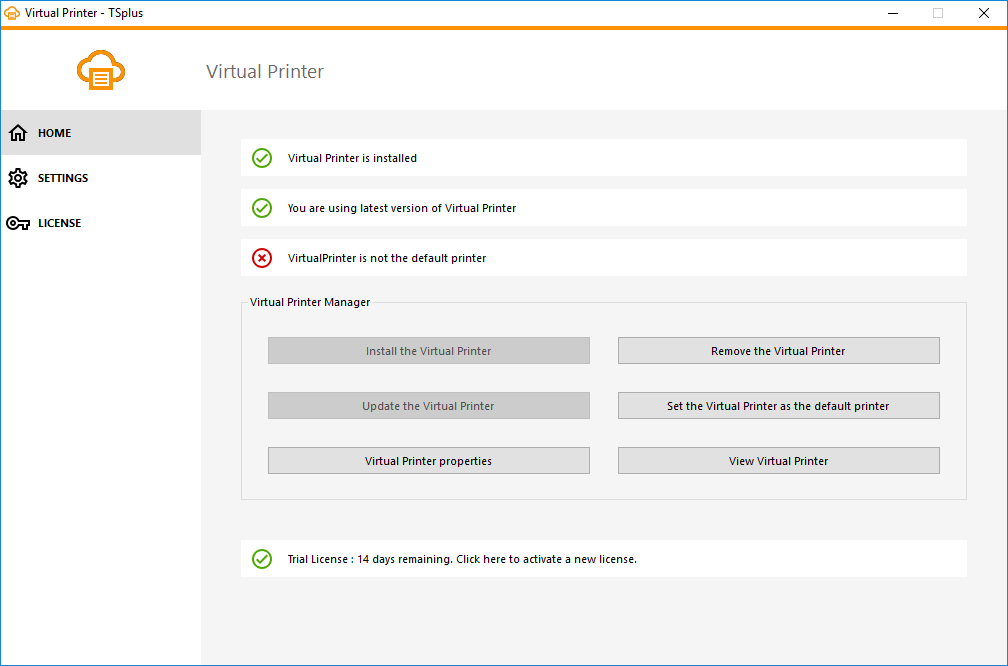
From the HOME section, you will be able to:
- Install the virtual printer
- Update the virtual printer
- Check the “Virtual Printer” printer properties
- Remove the Virtual Printer
- Set the Virtual Printer as the default printer
- Check the Virtual Printer status and pending documents
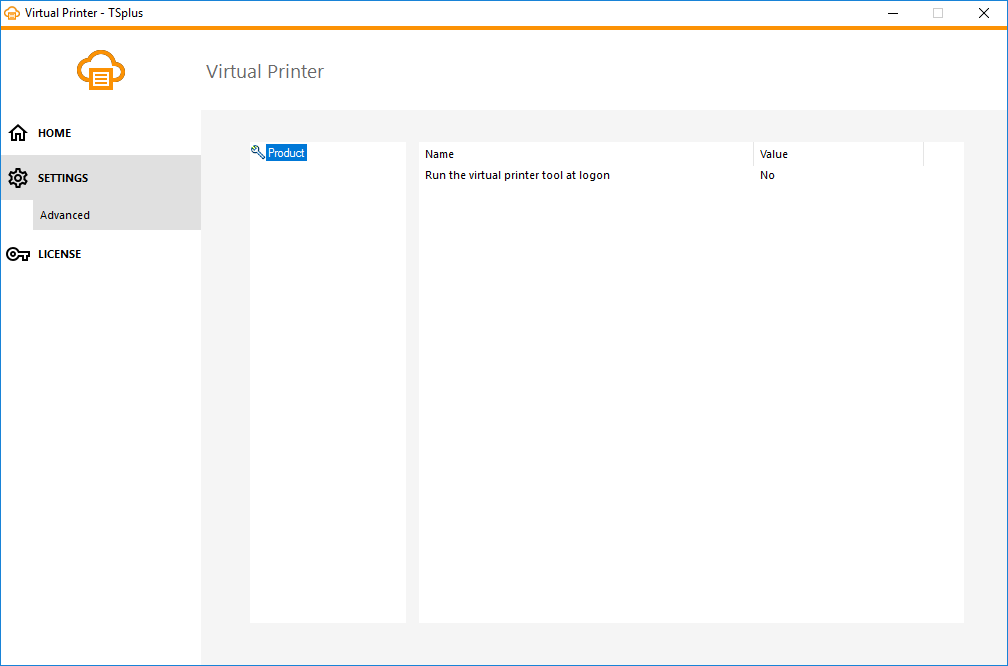
From the SETTINGS > Advanced section, you will be able to set up advanced parameters such as: “Run the virtual printer tool at logon” which will make the Virtual Printer Tool available on the remote session at logon. This parameter is mainly used to avoid the extra steps of assigning the “Virtual Printer Tool” to every users who needs it, making it available for everyone directly.
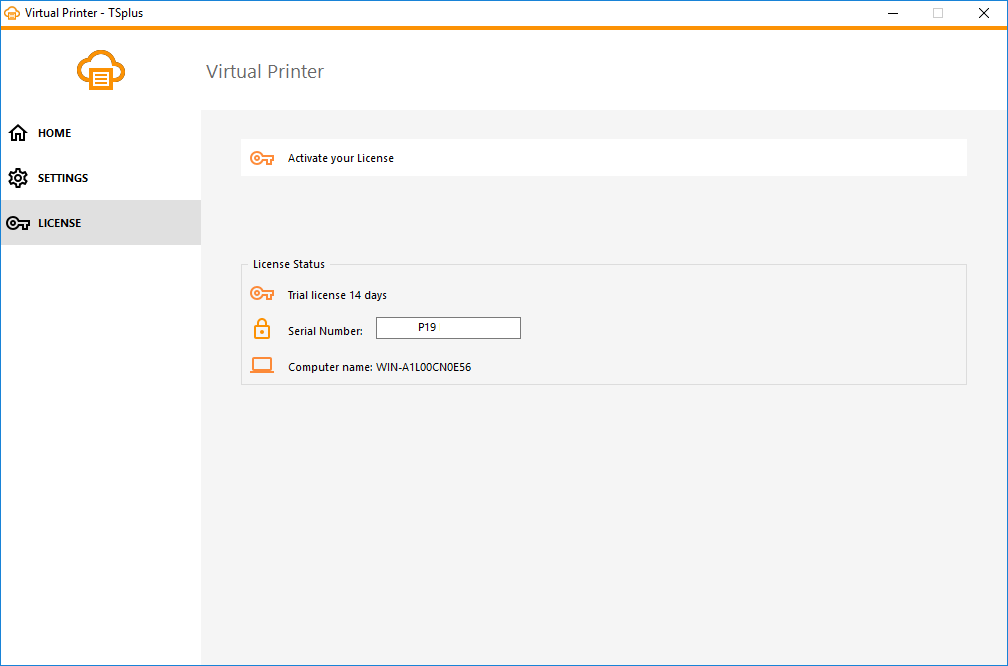
From the LICENSE section, you will be able to:
- Activate your license
To activate it, connect to our Licensing Portal and enter your E-mail address and Order Number to download your license file. Then, click on the “Activate your License” button and upload it.
- Check your license status