Installation
Installation is straightforward. Just run the TSplus Remote Support setup program on the Windows machine you’ve chosen to use as the Remote Support Server.
Please note that you must run this Setup as an Administrator. But don’t worry, Windows will notify you and ask for your agreement.
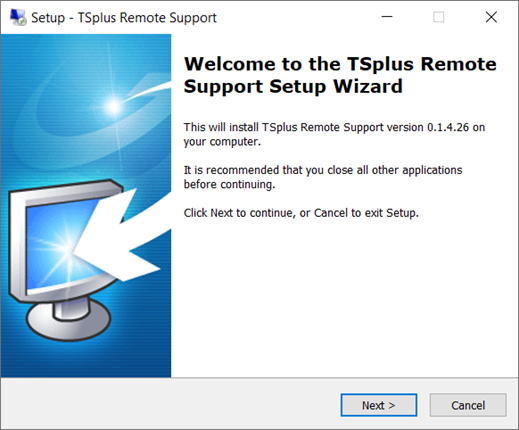
Welcome
Please close any other running programs and click Next.
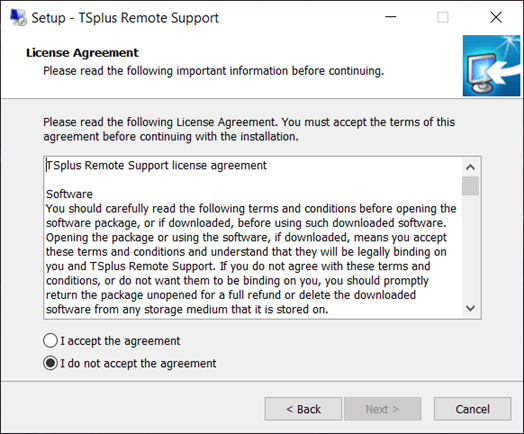
License Agreement
Click on “Next” to agree to the license.
Port Configuration
By default, the Remote Support Server listens on port 443, which is the standard HTTPS secured web port.
We recommend to keep using this port.
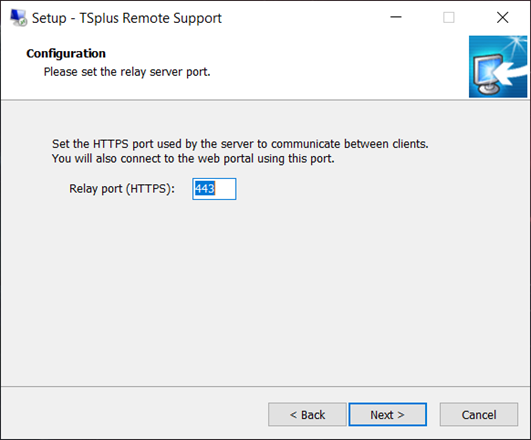
By default, the Remote Support web server is configured to use the standard HTTPS port number (443). However, if another web server is already active on this system (IIS for example) the TSplus built-in web server will experience a port number conflict.
The easy solution is to change these default values (4430 for example) during setup in this case.
Domain Configuration
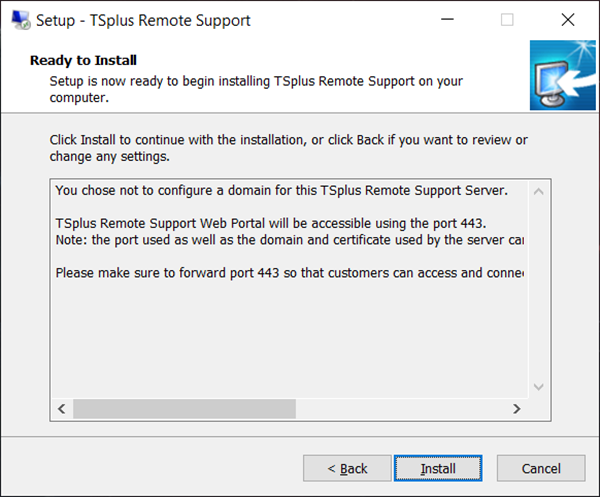
You can skip this step if you plan on using TSplus Remote Support without any domain name.
We recommend setting a domain name or subdomain name which resolves to the computer you are installing TSplus Remote Support on. Please contact your System Administrator / IT Department if you need help on configuring this domain name - you can test TSplus Remote Support right now by using “localhost” as the domain .
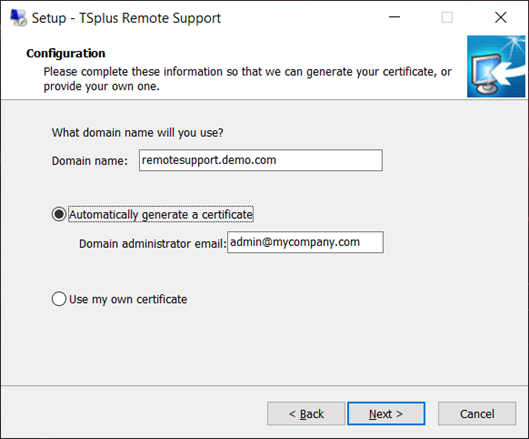
To configure TSplus Remote Support for access using an internet domain name, enter the domain name here and choose which kind of Security Certificate you would like to use, a free certificate generated within Remote Support, or a paid Certificate purchased from a Certificate Authority.
You may also configure your Domain after installation from the Remote Support Web Console.
Install with Free Certificate
Free Certificate is provided by Let’s Encrypt and requires port 80 to be open and available to validate your domain ownership.
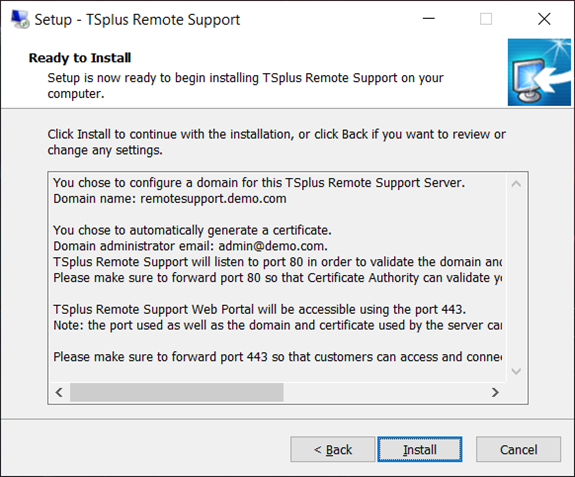
Ready to install
Confirm your settings and click Install to continue.
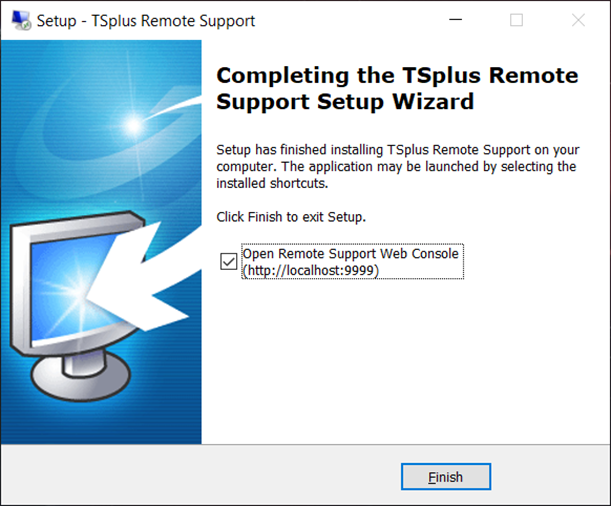
Congratulations!
Your TSplus Remote Support Server installation is complete.
Click Finish to open the Remote Support Web Console and start creating Agent accounts!
The free trial version is fully featured for 15 days with 5 Agents.
Administrator Account Setup
Launch TSplus Remote Support by clicking on the shortcut created on your desktop.
The next step is to configure your Remote Support Administrator account.
Enter your Administrator information and click ‘Register’.
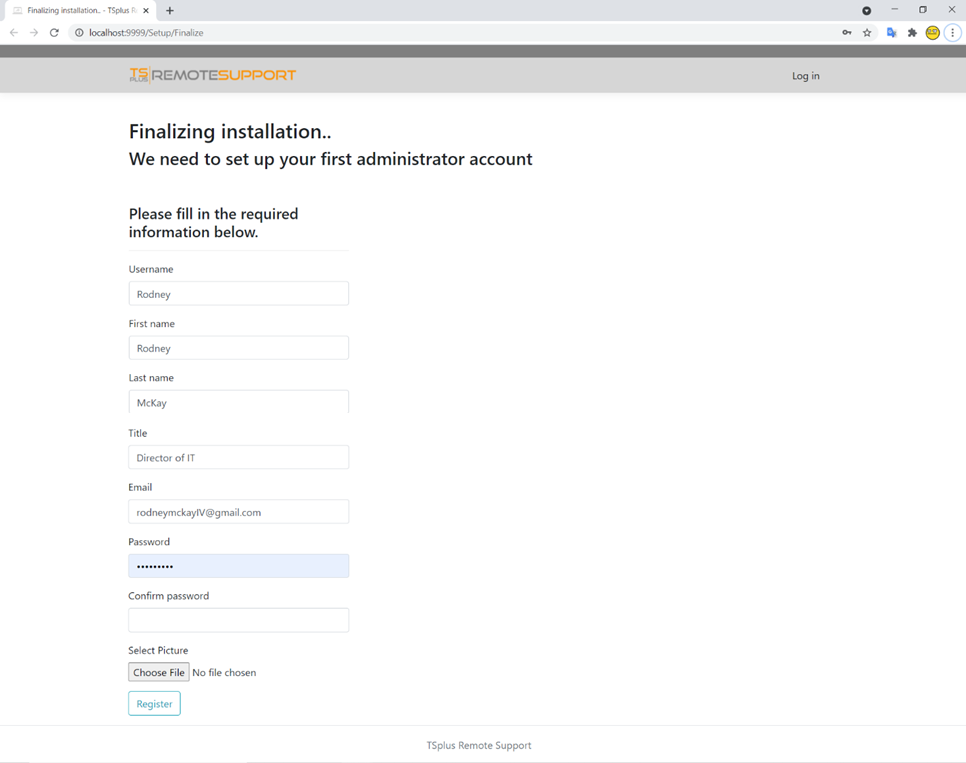
You’re now ready to confirm or adjust your server configuration, them jump in and start setting up agent accounts and sharing Windows sessions.
Uninstall TSplus Remote Support
In order to completely uninstall TSplus Remote Support, go to “C:\Program Files\RemoteSupport” and run the “unins000” application.
Click on yes on the next window to completely remove TSplus Remote Support and all of its components.
The software will be completely uninstalled from your machine.