How to use IIS rather than Terminal Service Plus default Web servers
Pre-requisites
It can be a good idea to Update Terminal Service Plus to be sure that you get the latest TSplus programs.
1. IIS configuration
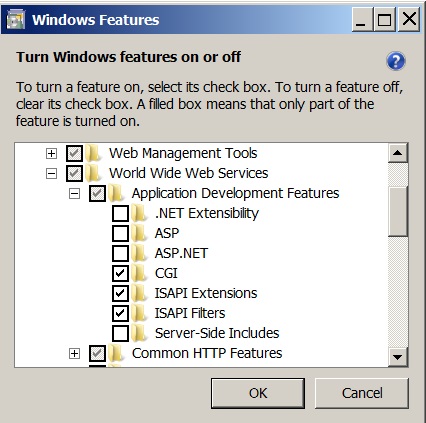
- Install IIS with the following modules : CGI, ISAPI Extensions and ISAPI Filters.
 - Configuring the IIS Port:
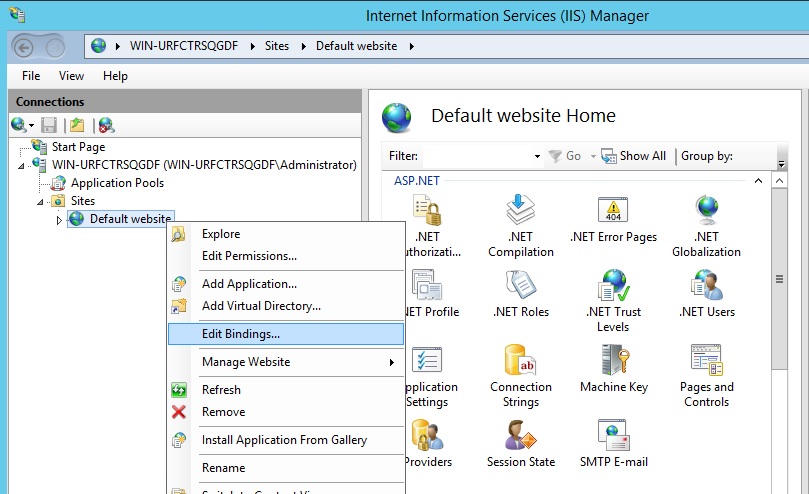
Access the IIS management console, expand the list below your server name, then Expand the “Sites” menu and right click on “Default Web Site” and click on “Edit Bindings”:
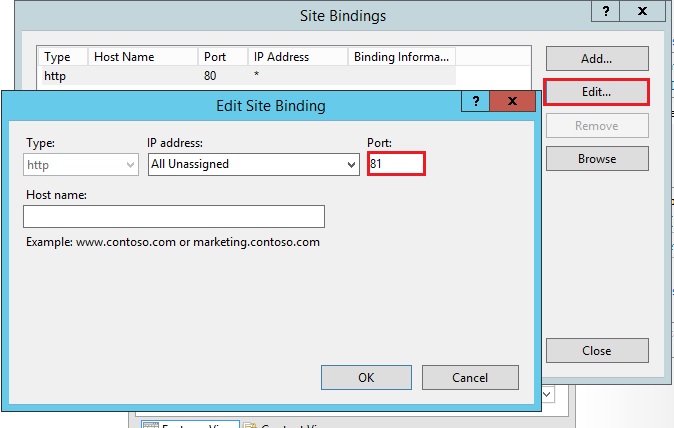
 Click on “http” and “Edit”. Change the port to 81 and click Ok, and then click Close:
Disable the 443 port or change this port for another free port.
Then, restart the IIS Manager.
2. Create virtual directory for CGI
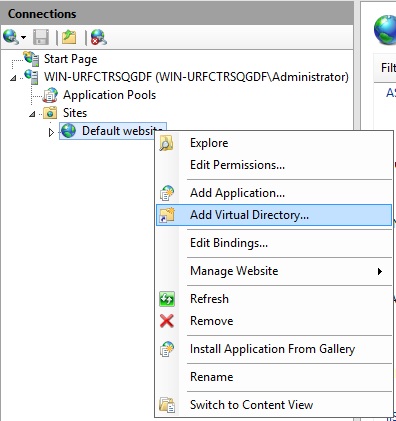
In the left panel menu, expand the menu under your server, then “Sites,” and right-click on your site to add a new “virtual directory”, as shown in the image below:
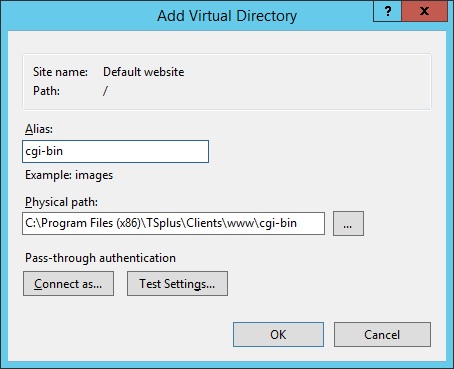
 On the window that will open fill in as follows:
Alias: cgi-bin
Physical path: “C:\Program Files(x86)\TSplus\Clients\www\cgi-bin”
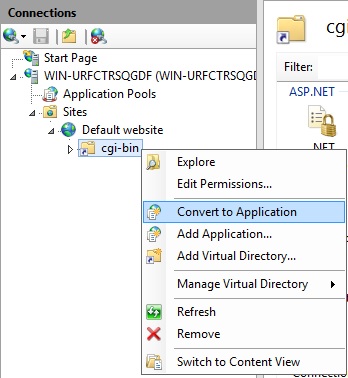
 Then click “OK” and you will see that the “cgi-bin” virtual directory has been added to your IIS Web site. Now, right-click this “cgi-bin” virtual directory and click on “Convert to Application”.
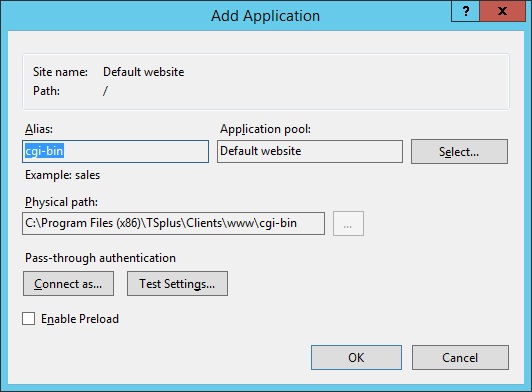
Click “OK” and accept the default settings.
Then click “OK” and you will see that the “cgi-bin” virtual directory has been added to your IIS Web site. Now, right-click this “cgi-bin” virtual directory and click on “Convert to Application”.
Click “OK” and accept the default settings.
 Then select the “Handler Mappings” icon for this folder on the right side of the Manager window:
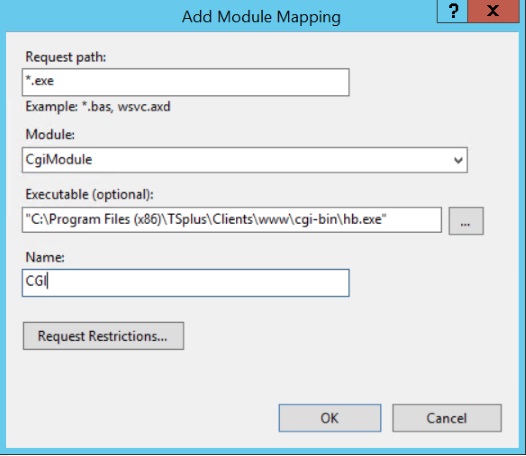
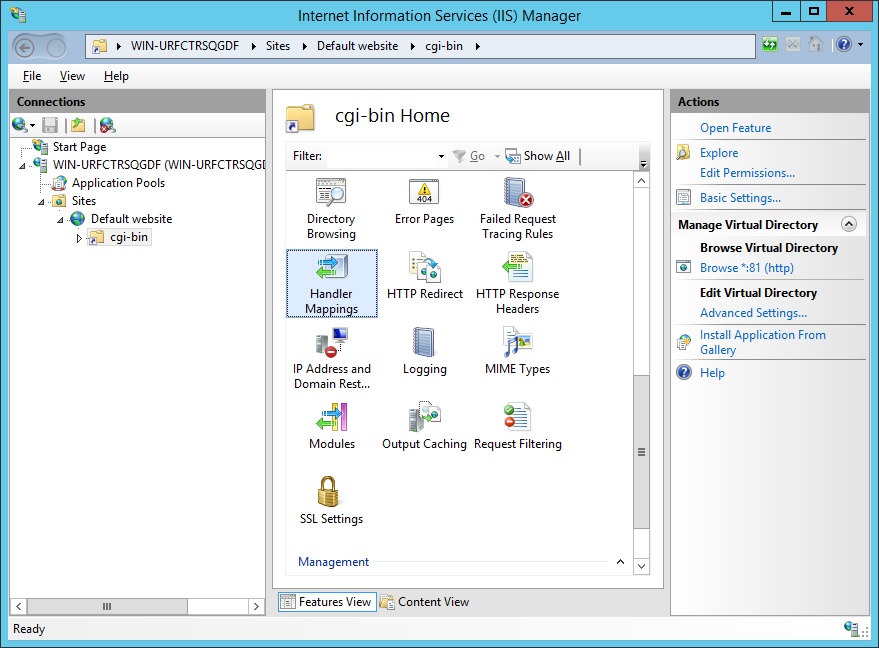 From the list of Handler Mappings, double click on “CGI-exe”.
Then, search the hb.exe executable from the Executable property box and click OK.
From the list of Handler Mappings, double click on “CGI-exe”.
Then, search the hb.exe executable from the Executable property box and click OK.
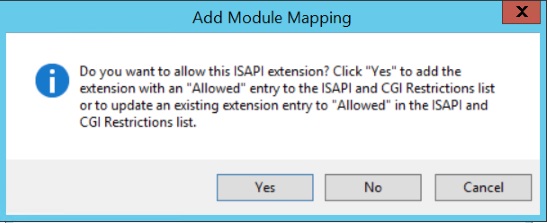
 A prompt for confirmation appears. Click “OK” to allow this ISAPI extension.
 Now click on “Edit Feature Permissions”:
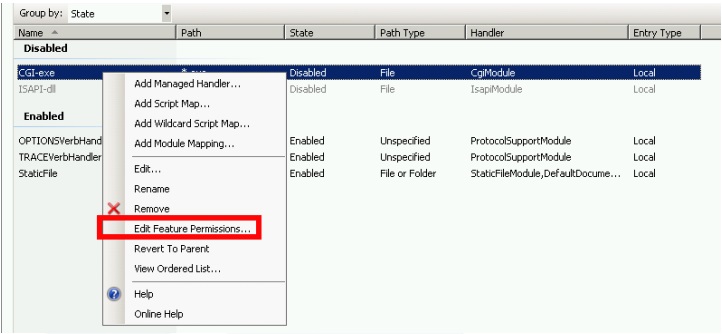 Check the “Execute” checkbox and click OK:
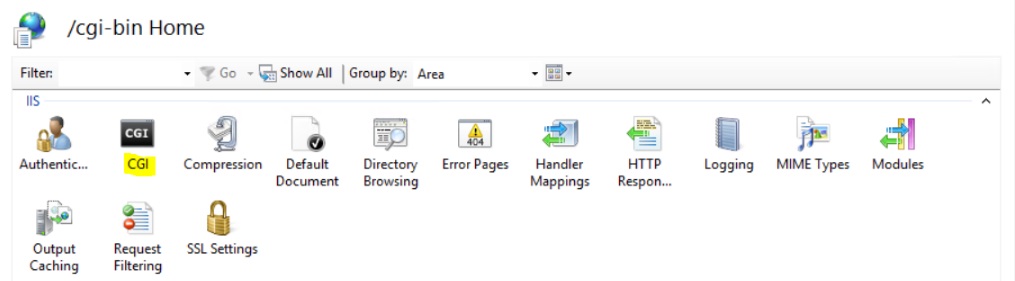
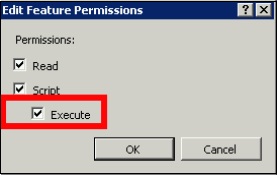 Back to the “CGI-bin” Home, click on “CGI” to open the CGI properties:
 Change the value of “Use New Console For Each Invocation” to “True”. Then, click “Apply” to save the changes.
 ### 3. Configure CGI extension permission
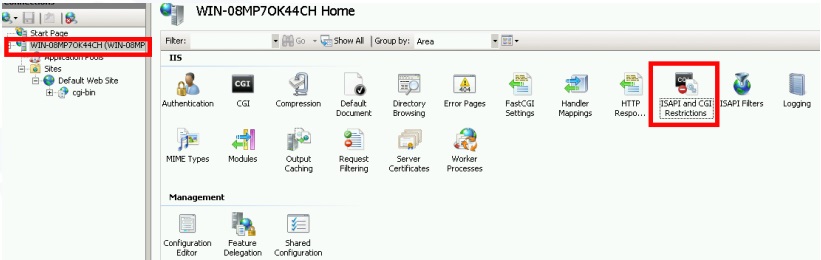
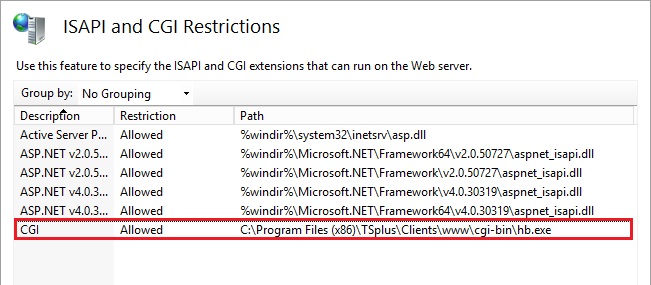
Now, the last step is to allow the CGI extension to run on the server. Click on the “ISAPI and CGI Restrictions” icon. This can be found by clicking on the machine name in the menu on the left side of the window.
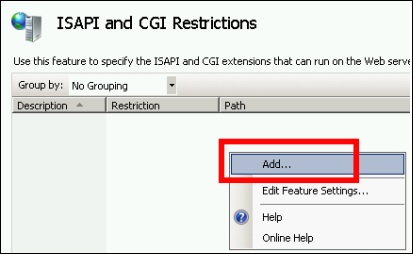
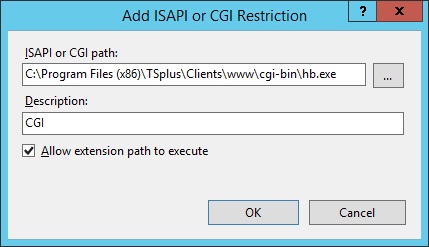
 On the “ISAPI and CGI Restrictions” page, click “Add …” on the right side of the window. Now specify the full path to the “hb.exe” file hosted in the TSplus folder. Be sure to check the “Allow extension path to execute” option, as
Illustrate the following images:
On the “ISAPI and CGI Restrictions” page, click “Add …” on the right side of the window. Now specify the full path to the “hb.exe” file hosted in the TSplus folder. Be sure to check the “Allow extension path to execute” option, as
Illustrate the following images:
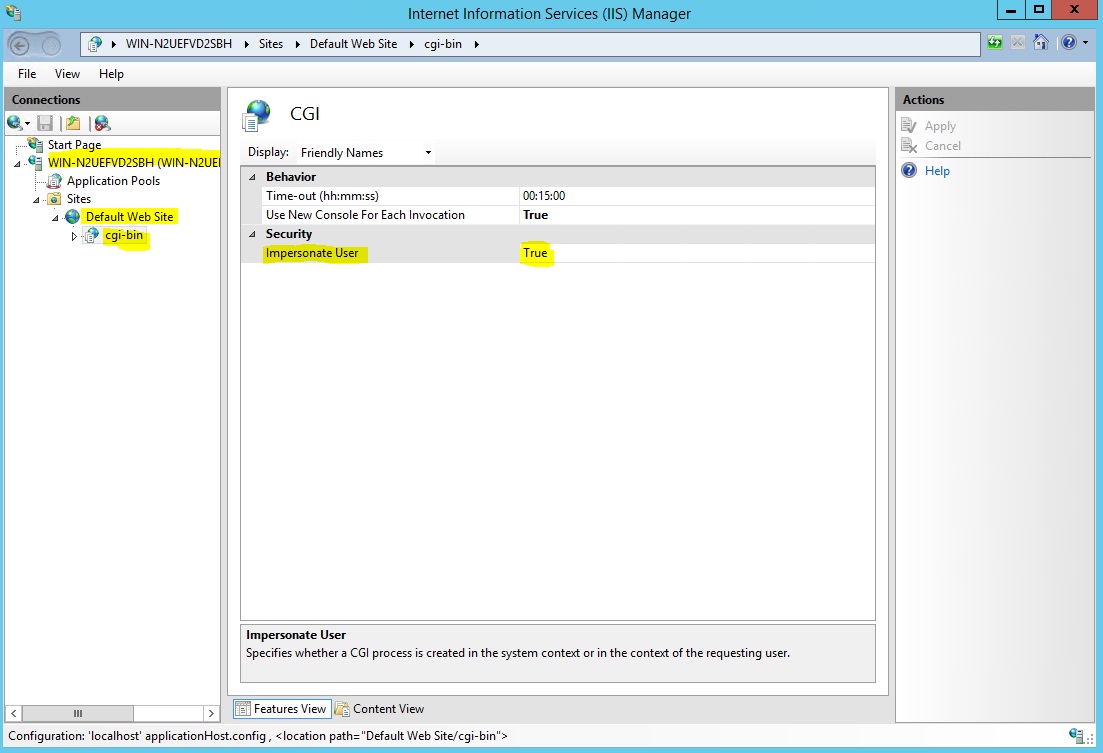
Make sure that in CGI section of your server, “Default Web Site” and “cgi-bin” the setting “Impersonate User” is set to “True”.
Give full permission to user “IUSR” in the directory “C:\Program Files (x86)\TSplus\Clients\www\cgi-bin”
Give full permission to user “IUSR” in the directory “C:\Program Files (x86)\TSplus\Clients\webserver\twofa”
4. Add Mime types in IIS
Open a command prompt as an administrator and run the following commands:
%SystemRoot%\system32\inetsrv\appcmd set config /section:staticContent/+[fileExtension='.dat',mimeType='text/plain']%SystemRoot%\system32\inetsrv\appcmd set config /section:staticContent/+[fileExtension='.',mimeType='text/plain']Restart IIS.
5. Configure IIS Directory Permissions
Give full permission to the group “Everyone” in the directory “C:\inetpub\wwwroot”
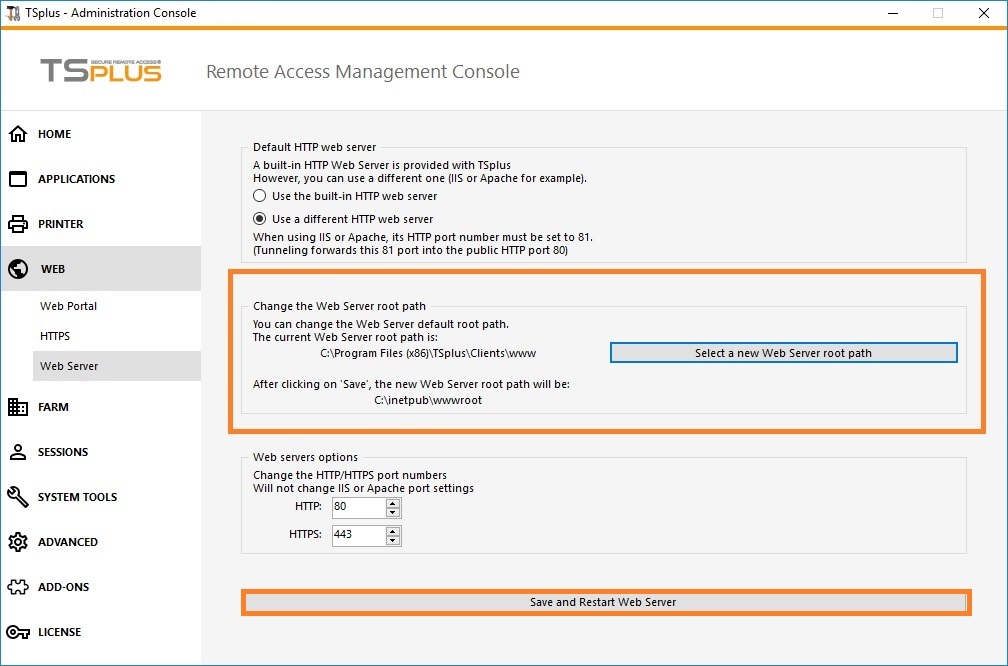
6. Configure TSplus
Go to the Web Server tab of the AdminTool, then choose the “Use a Different HTTP server” option:
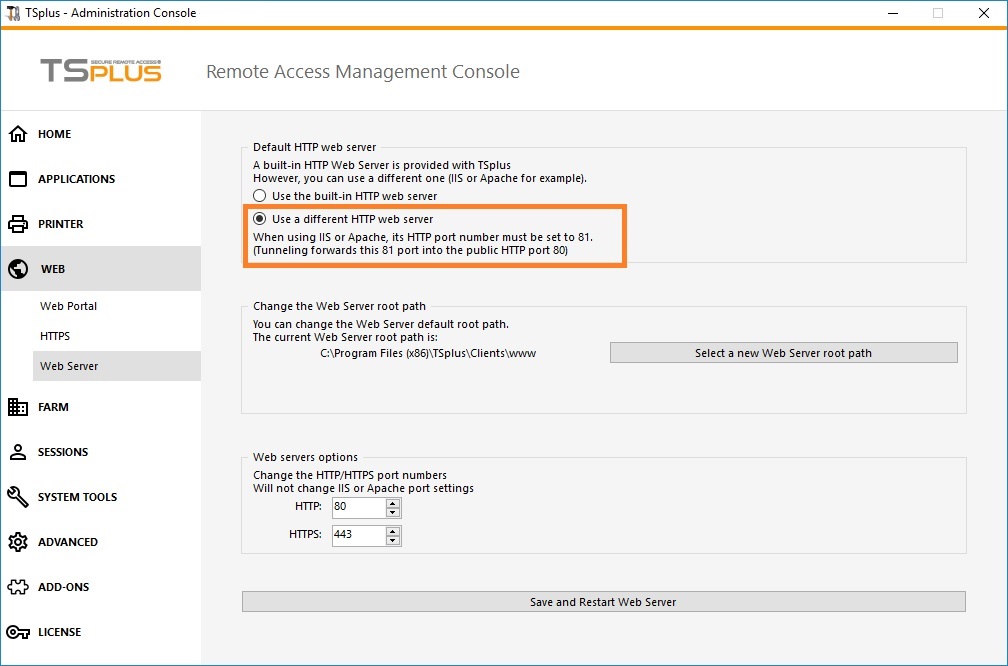 Then, in the same window, click on “Select a new Web Server root path”, and put the path of the IIS directory, which should be something like: “C: \ inetpub \ wwwroot”.
Now click on “Save and Restart the AdminTool”.
Then, in the same window, click on “Select a new Web Server root path”, and put the path of the IIS directory, which should be something like: “C: \ inetpub \ wwwroot”.
Now click on “Save and Restart the AdminTool”.
The following messages will appear:
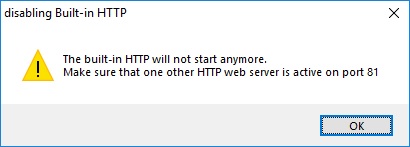
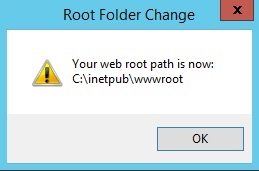 Wait. The Admintool will be closed automatically.
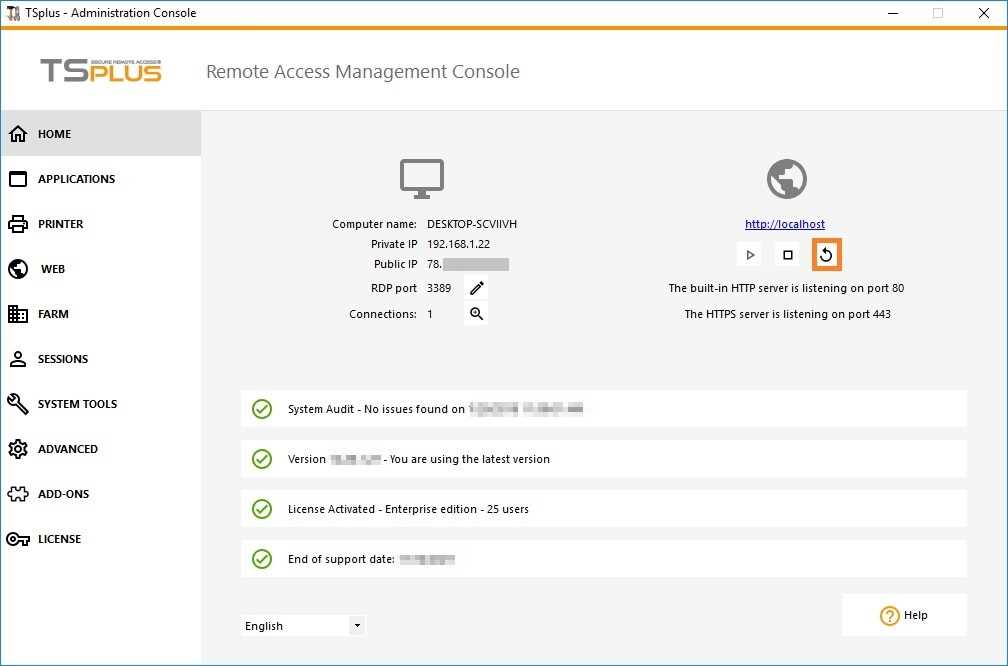
Then open the Admintool again and click on the Web tile.
Wait. The Admintool will be closed automatically.
Then open the Admintool again and click on the Web tile.
Finally, restart the web servers:
 ### 7. Test with local host
Warning: Use a different user account.
If you try with your current user account from your own RDP session to the server, then you will be disconnected and not be able to reconnect.