Installazione
L'installazione è semplice. Basta eseguire il programma di installazione di TSplus Remote Support sulla macchina Windows che hai scelto di utilizzare come Server di Supporto Remoto.
Si prega di notare che è necessario eseguire questa configurazione come Amministratore. Ma non preoccuparti, Windows ti notificherà e chiederà il tuo consenso.
Benvenuto
Si prega di chiudere eventuali altri programmi in esecuzione e fare clic su Avanti.

Contratto di licenza
Clicca su "Avanti" per accettare la licenza.

Configurazione della porta
Per impostazione predefinita, il Server di Supporto Remoto ascolta sulla porta 443, che è la porta web HTTPS sicura standard.
Consigliamo di continuare a utilizzare questa porta.

Per impostazione predefinita, il server web di Remote Support è configurato per utilizzare il numero di porta HTTPS standard (443). Tuttavia, se un altro server web è già attivo su questo sistema (IIS ad esempio), il server web integrato di TSplus subirà un conflitto di numero di porta.
La soluzione semplice è cambiare questi valori predefiniti (4430 ad esempio) durante la configurazione in questo caso.
Configurazione del dominio
Puoi saltare questo passaggio se prevedi di utilizzare TSplus Remote Support senza alcun nome di dominio.
Consigliamo di impostare un nome di dominio o un nome di sottodominio che risolva il computer su cui stai installando TSplus Remote Support. Ti preghiamo di contattare il tuo Amministratore di Sistema / Dipartimento IT se hai bisogno di aiuto per configurare questo nome di dominio. puoi testare TSplus Remote Support proprio ora utilizzando "localhost" come dominio .
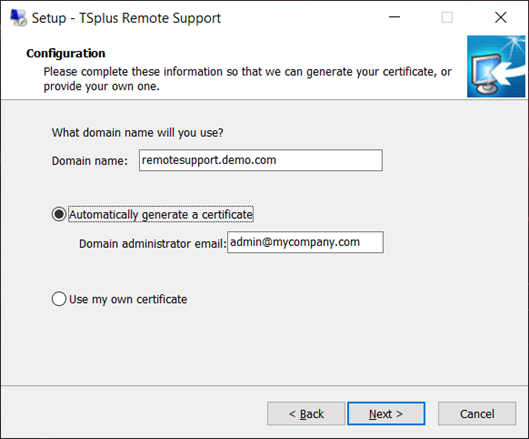
Per configurare TSplus Remote Support per l'accesso utilizzando un nome di dominio internet, inserisci qui il nome di dominio e scegli quale tipo di Certificato di Sicurezza desideri utilizzare, un certificato gratuito generato all'interno di Remote Support, o un Certificato a pagamento acquistato da un'Autorità di Certificazione.
Puoi anche configurare il tuo dominio dopo l'installazione dalla Console Web di Supporto Remoto.
Installa con certificato gratuito
Il certificato gratuito è fornito da Let’s Encrypt e richiede che la porta 80 sia aperta e disponibile per convalidare la proprietà del tuo dominio.
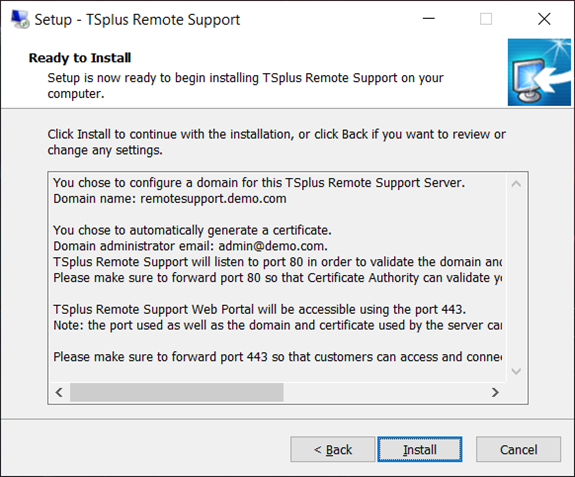
Pronto per l'installazione
Conferma le tue impostazioni e fai clic su Installa per continuare.
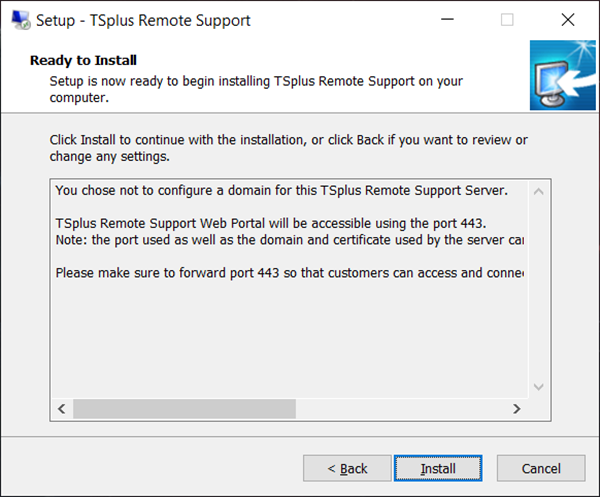
Congratulazioni!
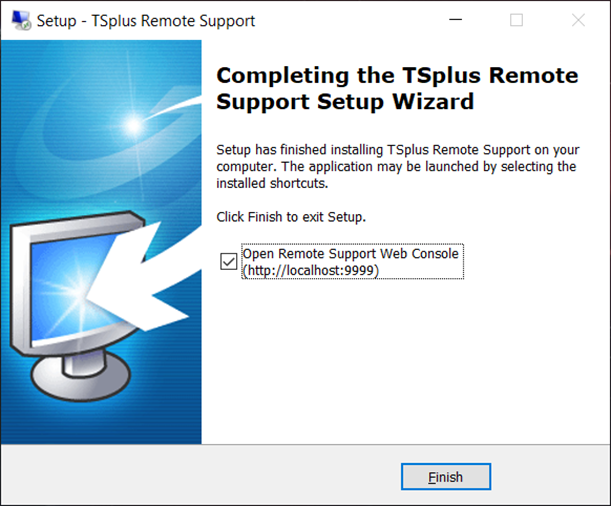
La tua installazione del server TSplus Remote Support è completata.
Clicca su Fine per aprire la Console Web di Supporto Remoto e iniziare a creare account Agente!
La versione di prova gratuita è completamente funzionale per 15 giorni con 5 Agenti.
Impostazione dell'account amministratore
Avvia TSplus Remote Support facendo clic sull'icona creata sul tuo desktop.
Il passo successivo è configurare il tuo account di amministratore per il supporto remoto.
Inserisci le informazioni dell'Amministratore e fai clic su 'Registrati'.
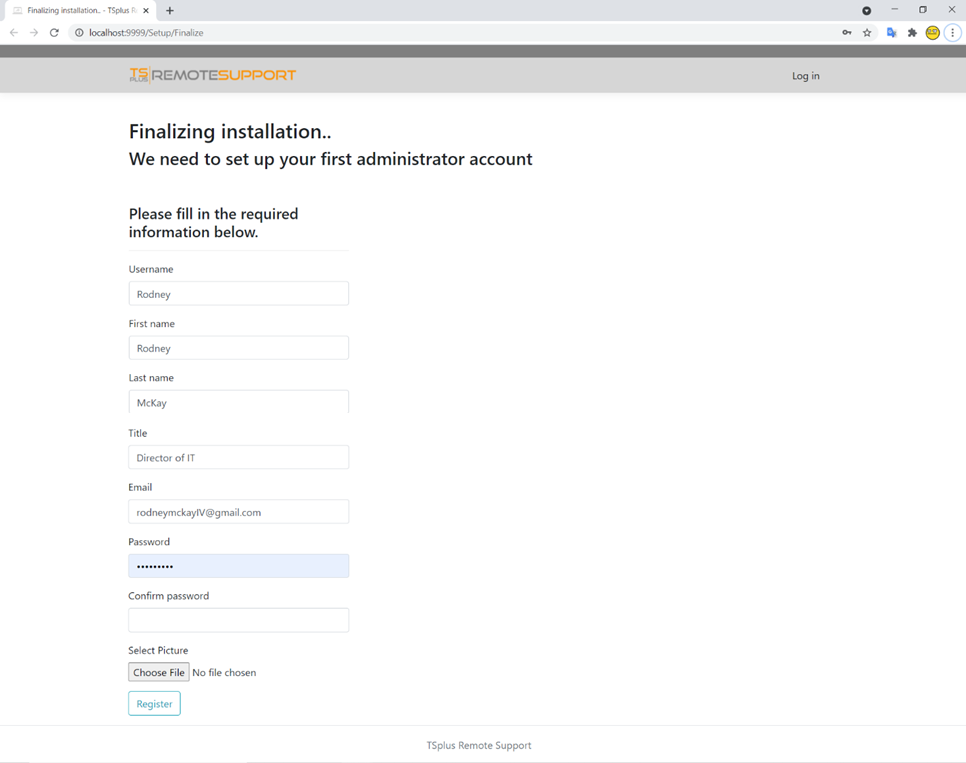
Ora sei pronto per confermare o modificare la configurazione del tuo server, quindi entra e inizia a impostare gli account degli agenti e a condividere le sessioni di Windows.
Disinstallare TSplus Remote Support
Per disinstallare completamente TSplus Remote Support, vai su “C:\Program Files\RemoteSupport” ed esegui l'applicazione “unins000”.
Clicca su sì nella finestra successiva per rimuovere completamente TSplus Remote Support e tutti i suoi componenti.
Il software verrà completamente disinstallato dal tuo computer.