Console Web dell'Agente
Panoramica
Una volta effettuato l'accesso, gli Agenti vengono accolti da un elenco di Sessioni Remote disponibili con gli Utenti Finali, oltre a un modo semplice per creare un link personalizzato e invitare gli Utenti Finali a condividere il loro Computer Remoto.
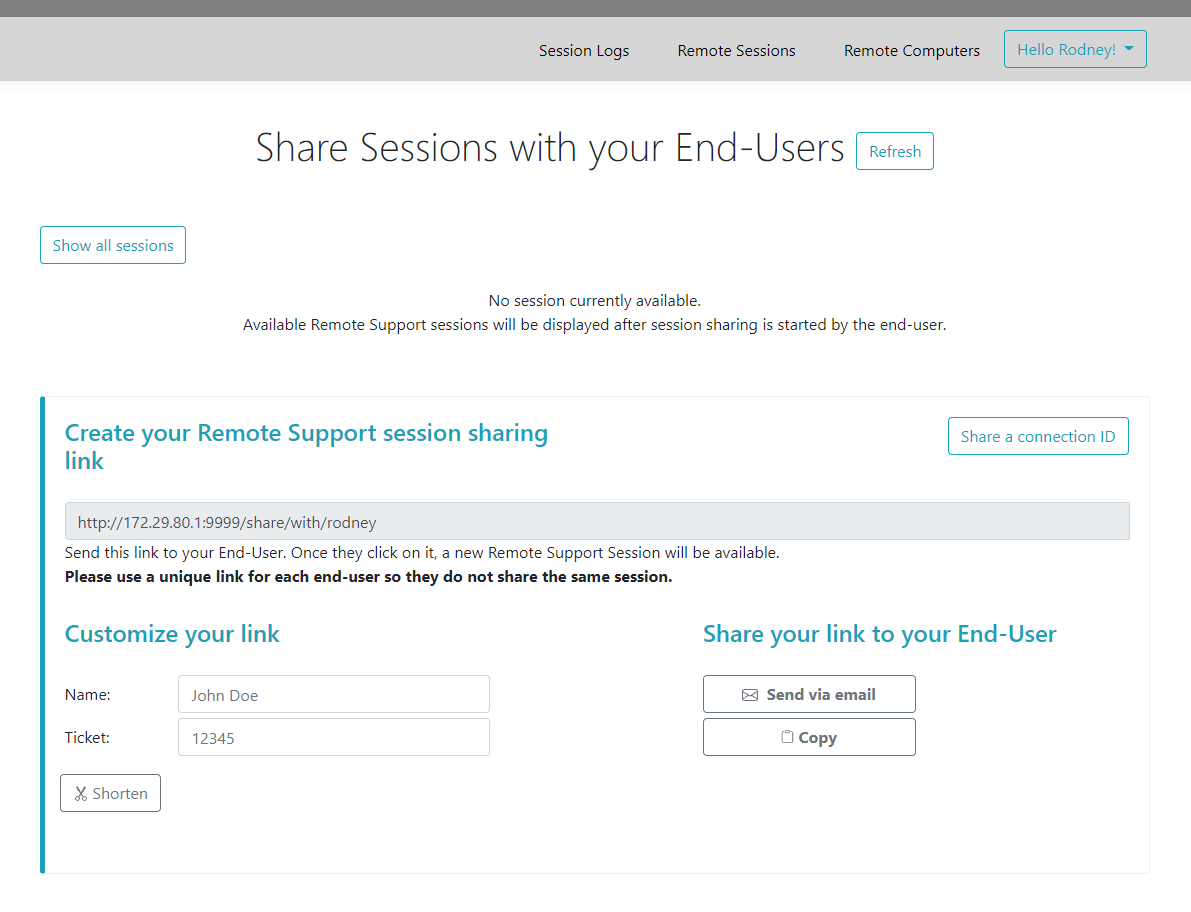
Gli agenti possono anche personalizzare le proprie impostazioni dell'account dal pulsante 'Ciao, Nome Agente' e poi dall'elemento di menu 'Impostazioni' nell'angolo in alto a destra della pagina.
Sessioni remote
Invia un link
Ogni agente di supporto ha un link personalizzato che viene inviato all'utente finale.

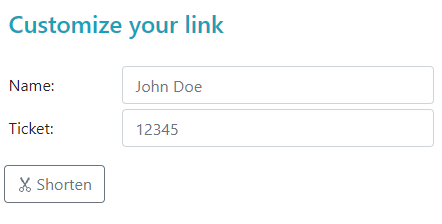
Personalizza il link
Le informazioni come il numero del ticket di supporto e il nome dell'utente finale possono essere rapidamente incorporate nel link.
L'agente può anche accorciare l'URL se necessario utilizzando il pulsante 'Accorcia'.
Opzioni di invio
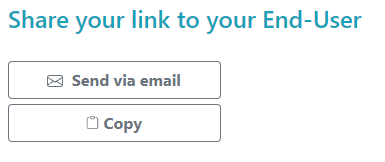
L'agente può inviare il link via email o semplicemente copiarlo utilizzando i pulsanti della sezione sottostante.
Il sistema di collegamento
Ogni link corrisponde a una sessione specifica.
Questo significa che ogni agente dovrà personalizzare il proprio link agente per generare una nuova sessione non appena l'utente finale condivide la propria sessione.
Se un agente condivide lo stesso link esatto con più utenti finali, tutti termineranno nella stessa sessione e non potranno condividere il proprio schermo contemporaneamente.
Invia un ID di connessione
L'agente può anche inviare un ID di connessione invece all'utente finale.
L'ID di connessione è un codice di 6 cifre da inserire da parte dell'utente finale dopo aver avviato manualmente il client di Supporto Remoto.

Per generare un ID di connessione, l'agente dovrà andare alla sezione 'Condividi un ID di connessione' facendo clic sul pulsante con lo stesso nome.

Connessioni disponibili
Quando l'utente finale ha cliccato sul link ed è pronto per la connessione, le sue informazioni appariranno nell'interfaccia dell'agente di supporto.
Basta fare clic su 'Connetti' per iniziare la sessione di Supporto Remoto.

Unisciti a una sessione di un altro agente di supporto
Per impostazione predefinita, l'agente vede solo le sessioni attualmente condivise, che sono state create utilizzando il suo URL agente.
Di conseguenza, per vedere e unirsi ad altre sessioni, l'agente dovrà fare clic sul pulsante 'Mostra tutte le sessioni'.

Computer remoti
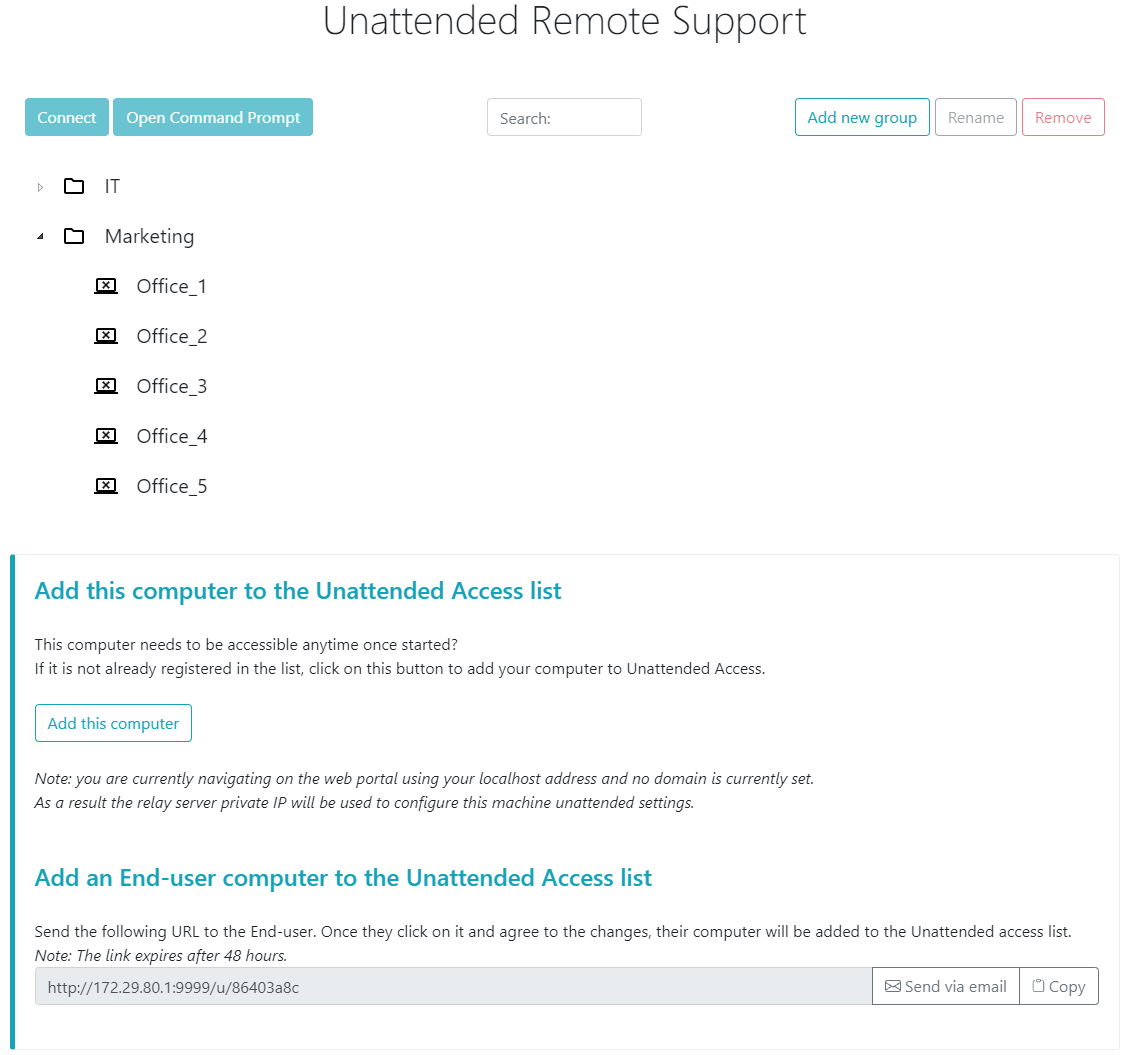
Ogni agente ha accesso all'elenco dei computer non presidiati disponibili.
Sono disponibili tre azioni sui computer: connettersi, aprire un prompt dei comandi e rimuovere.
I computer non presidiati possono essere organizzati utilizzando gruppi e trovati rapidamente utilizzando la barra di ricerca.
Accedi alla macchina non presidiata
Quando una macchina è disponibile, questa icona verrà utilizzata.

Quando una macchina non è disponibile, verrà utilizzata questa icona.

Invia riga di comando
L'agente sarà anche in grado di inviare comandi CLI tramite il prompt dei comandi web collegato alla macchina facendo clic sul pulsante 'Apri un prompt dei comandi'.
Nota: A seconda del browser che stai utilizzando, potresti essere limitato a un certo numero di prompt di comando aperti contemporaneamente. Se hai bisogno di superare questa limitazione, dovrai aprire un browser diverso.
Limitazioni conosciute:
- Chrome versione 92: 5
- Firefox versione 91: 5
- Edge (chromium) versione 92: 5

Rimuovi un computer
L'agente può eliminare un computer dall'elenco dei computer non presidiati e renderlo non disponibile, facendo clic sul pulsante 'Rimuovi'. Nota: Per vedere di nuovo la macchina, l'agente dovrà abilitare nuovamente l'accesso non presidiato utilizzando il processo di configurazione nella web-console o nel link per l'utente finale.

Organizza i computer non presidiati
L'agente di supporto può creare gruppi per organizzare i computer non presidiati configurati.
I computer e i gruppi possono essere semplicemente spostati da un gruppo all'altro utilizzando il trascinamento.
Aggiungi un nuovo gruppo
Per aggiungere un nuovo gruppo, fare clic su 'Aggiungi nuovo gruppo', quindi dare un nome al gruppo creato e premere 'Invio'.

Rinomina un gruppo esistente
Per rinominare un esistente, seleziona il gruppo facendo clic su di esso, quindi fai clic su 'Rinomina'.

Elimina un gruppo esistente
Per eliminare un esistente, seleziona il gruppo facendo clic su di esso, quindi fai clic su 'Rimuovi'.

Cerca gruppi o computer
Per cercare gruppi o computer, è disponibile una barra di ricerca.
I risultati corrispondenti appariranno dinamicamente mentre digiti.

Aggiungi computer non presidiati
L'agente può aggiungere un computer all'elenco dei computer non presidiati in diversi modi.
Aggiungi questo computer
L'agente può aggiungere il computer che sta attualmente utilizzando all'elenco dei computer non presidiati e renderlo disponibile facendo clic sul pulsante 'Aggiungi questo computer'. Verrà chiesto all'agente di eseguire la configurazione di Remote Support.

Aggiungi un computer utente finale
È disponibile un URL specifico per ciascun agente per rendere la configurazione dell'Accesso Non Sorvegliato facile e intuitiva utilizzando una semplice pagina web.
L'agente potrà copiare il link utilizzando il pulsante Copia accanto all'URL visualizzato.
Nota: questo URL scade dopo 48 ore. Dopo di che un altro URL dovrebbe essere visualizzato e utilizzato dall'agente.

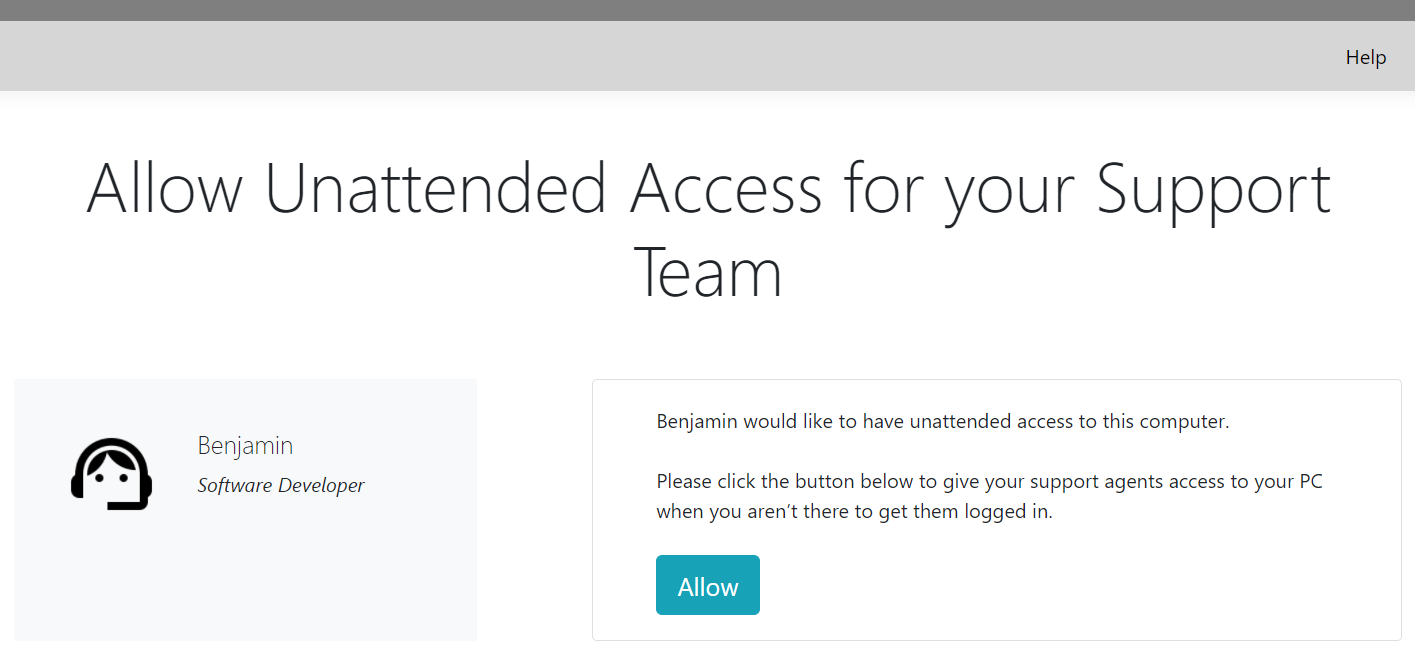
Una volta che l'URL è stato cliccato e la pagina è stata visualizzata, il cliente sarà in grado di abilitare l'accesso non presidiato facendo clic sul pulsante 'Consenti'.
Nota: abilitare l'accesso non presidiato richiede privilegi di amministratore. Verrà visualizzato un prompt di elevazione dei privilegi se l'utente attuale non dispone di questi.
Aggiungi un computer utilizzando la riga di comando
Se hai bisogno di abilitare l'accesso non presidiato su più computer, questo può essere fatto utilizzando l'interfaccia della riga di comando.
Il file di installazione del Client di Supporto Remoto, 'RemoteSupport.exe' può essere trovato qui .
Gli argomenti da utilizzare sono i seguenti (gli argomenti devono essere separati da uno spazio):
-
/createcomputer
-
/suoi_nome_utente [support_agent_username]
Ad esempio: /username “rodney” -
/password [support_agent_password]
Per esempio: /password “myoverlynotcomplicatedbutverylongpasswordsothatnoonefindit” -
/relayurl
Per esempio: /relayurl “remotesupport.mycompany.com” -
relayport
Per esempio: /relayport “443”
Un esempio completo: per registrare la macchina attuale come non presidiata al server remotesupport.mycompany.com puoi utilizzare:
RemoteSupport.exe /createcomputer /username “rodney” /password “myoverlynotcomplicatedbutlongpasswordsothatnoonefindit” /relayurl “remotesupport.mycompany.com” relayport “443”
Rimuovi un computer
L'agente può eliminare un computer dall'elenco dei computer non presidiati e renderlo non disponibile, facendo clic sul pulsante "Rimuovi".
Nota: Per rivedere nuovamente la macchina, l'agente dovrà abilitare nuovamente l'accesso non presidiato utilizzando il processo di configurazione nella web-console o nel link per l'utente finale.

Cambia la visibilità di un computer
La visibilità di un computer può essere cambiata dall'agente solo a tutti utilizzando il pulsante 'Cambia visibilità a tutti'. Per impostazione predefinita, quando il computer viene aggiunto, la visibilità di un computer è limitata al suo proprietario. Il proprietario del computer si riferisce all'agente che ha condiviso il suo URL personalizzato, che è stato utilizzato per aggiungere il computer all'elenco dei computer non presidiati.
Nota: solo il proprietario del computer può modificare la sua visibilità.

Registri di sessione
Una volta terminate le sessioni di Remote Support, vengono automaticamente registrate nella sezione 'Session Logs'.
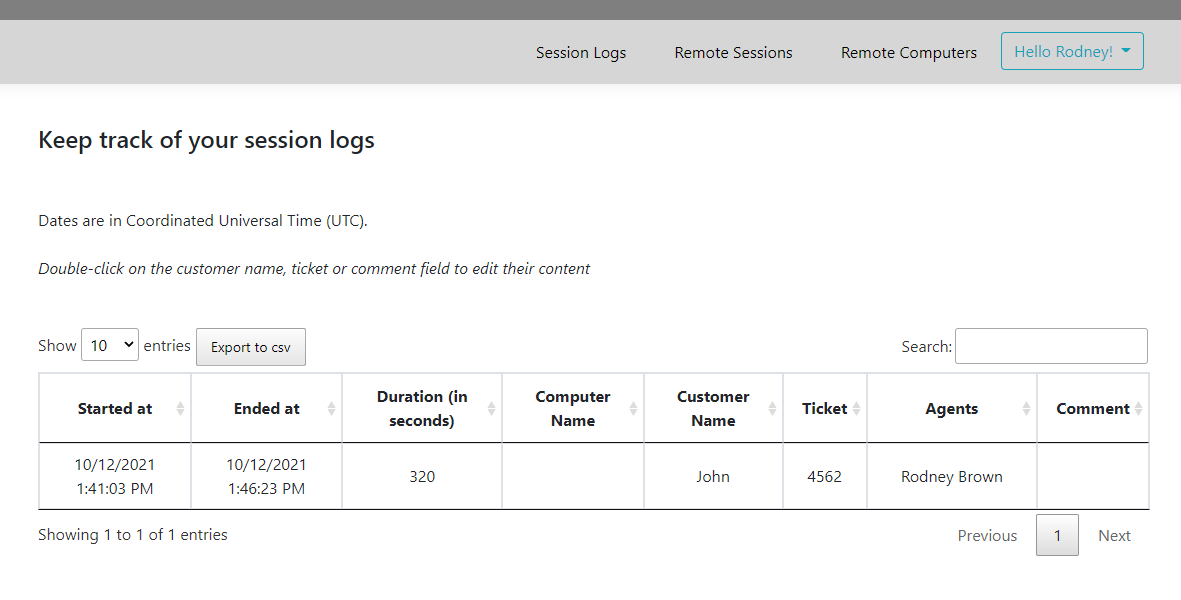
La tabella può essere esportata in csv utilizzando il pulsante 'Esporta in csv'.

Impostazioni dell'account agente
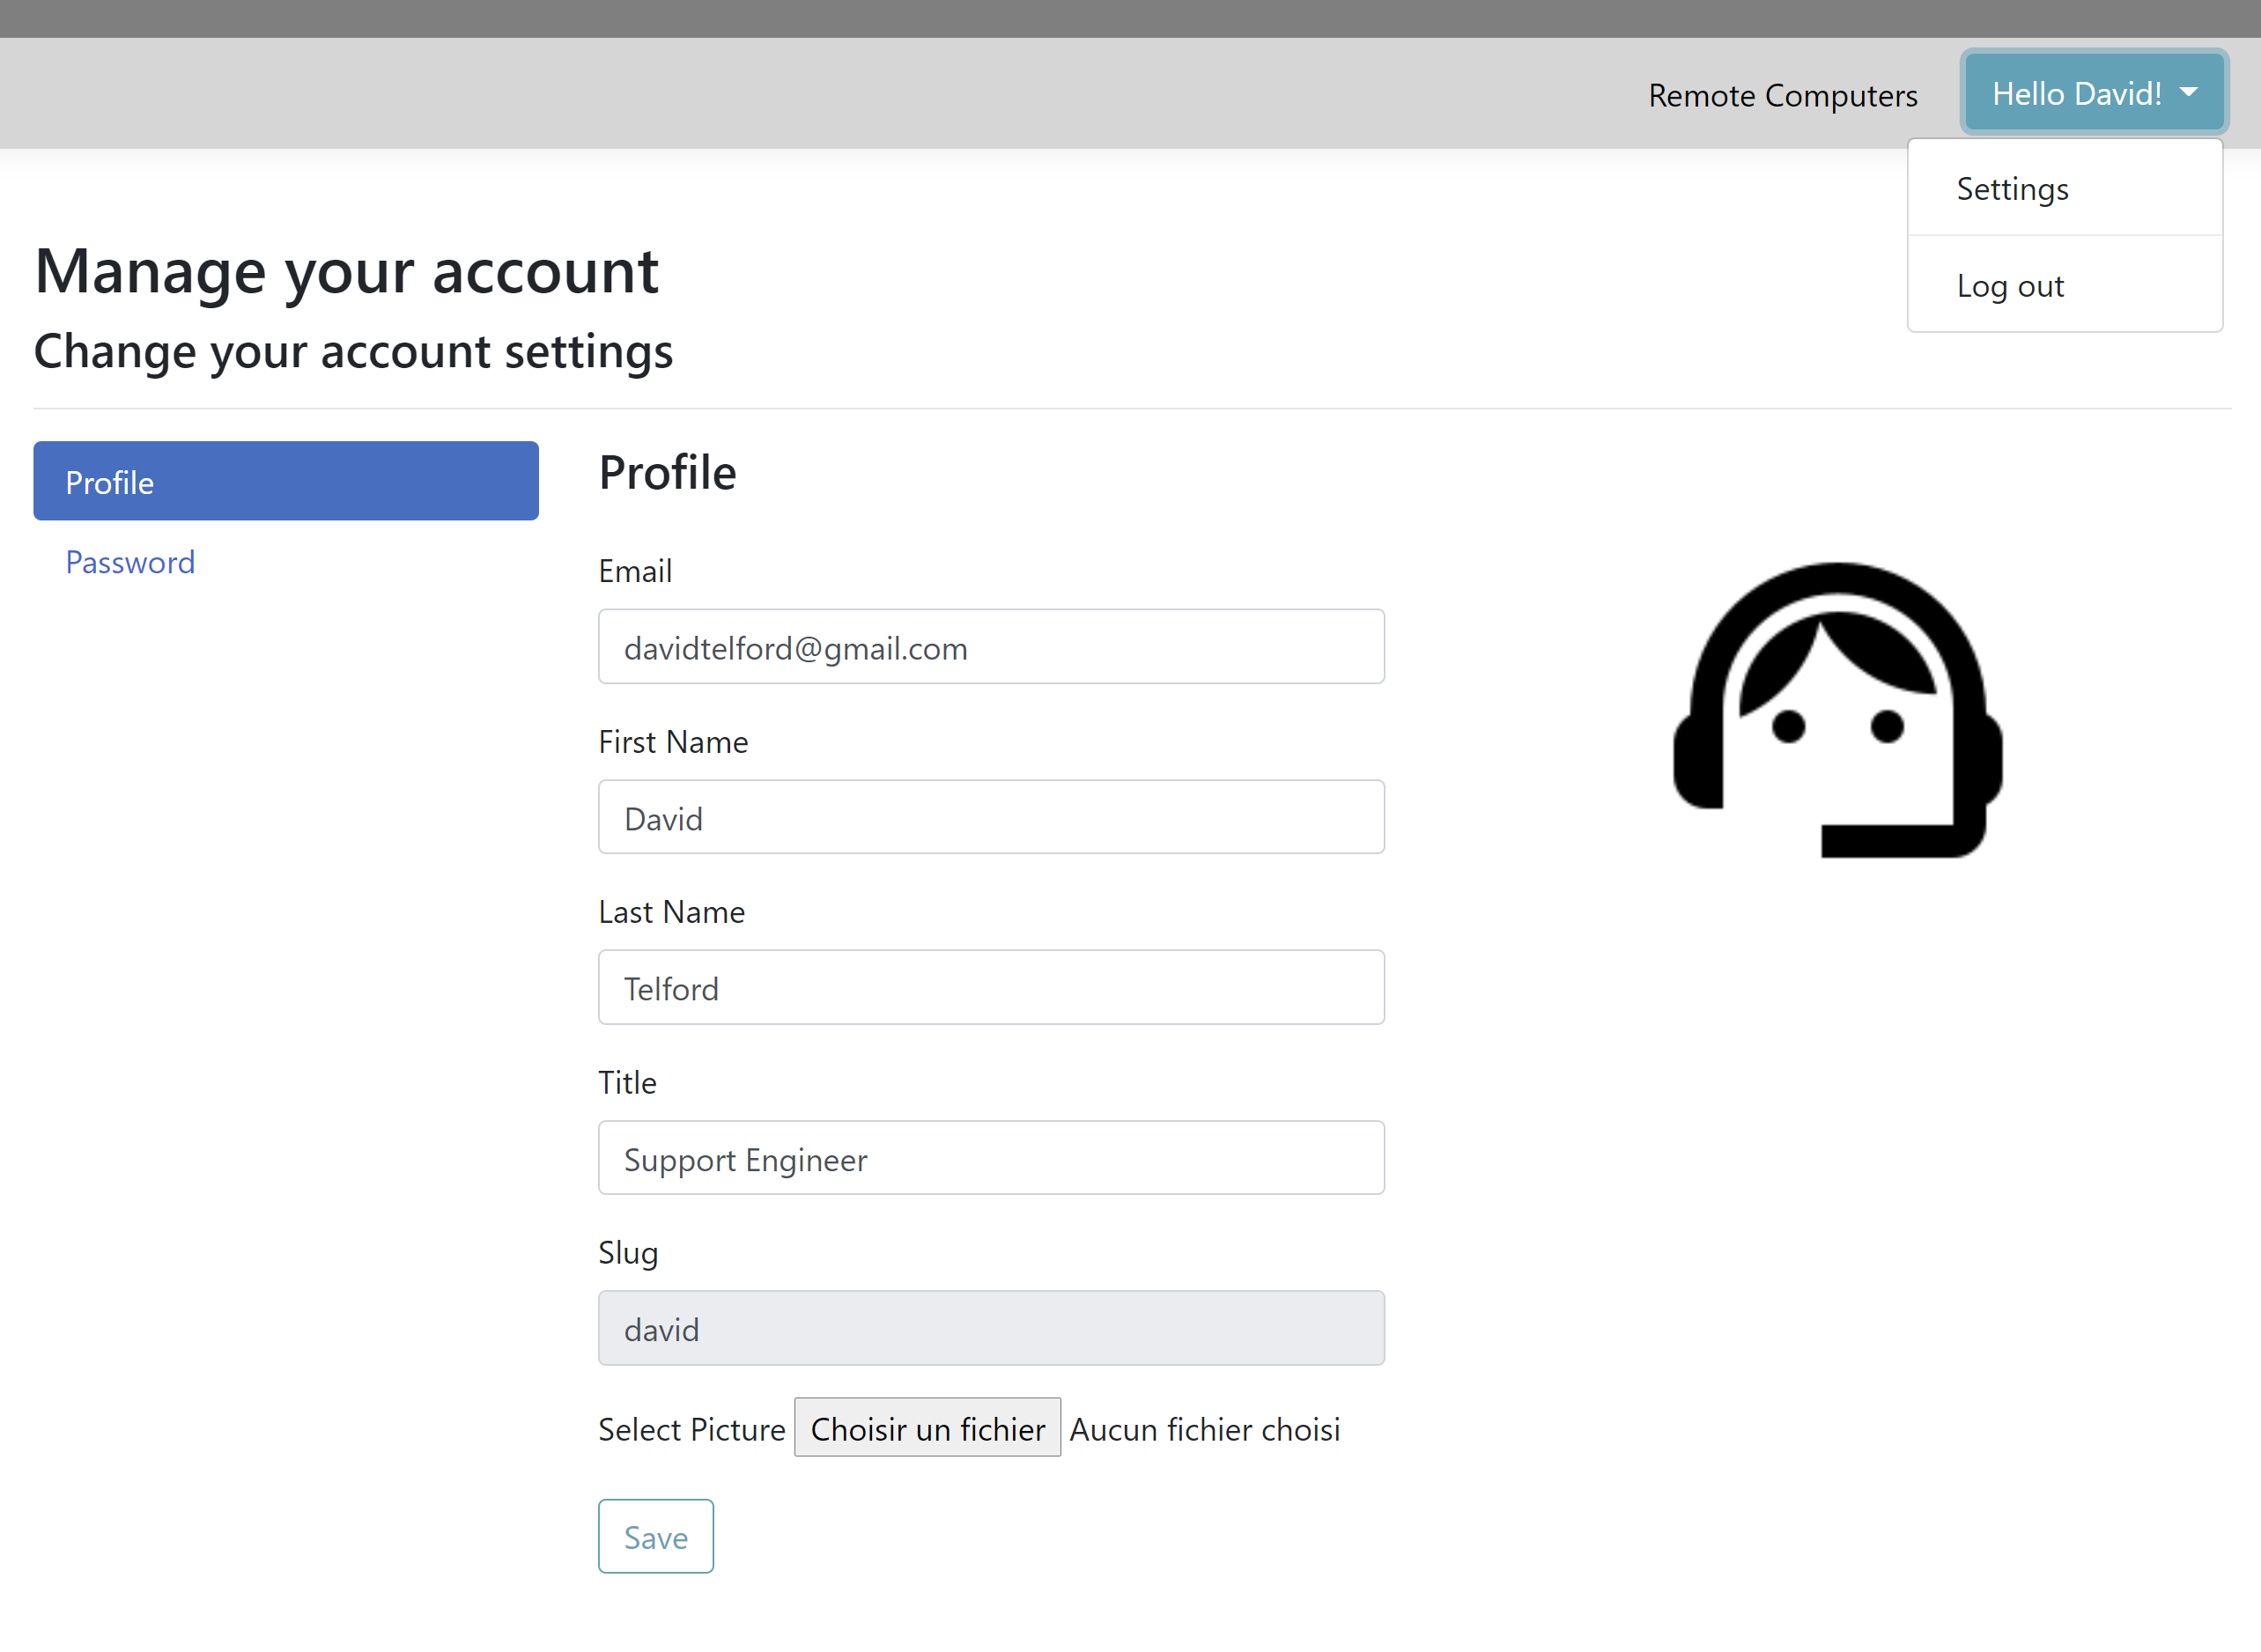
Gli agenti possono personalizzare le proprie impostazioni dell'account facendo clic sul pulsante 'Ciao, Nome Agente' nell'angolo in alto a destra della pagina e poi facendo clic sull'elemento di menu 'Impostazioni'.
Profilo
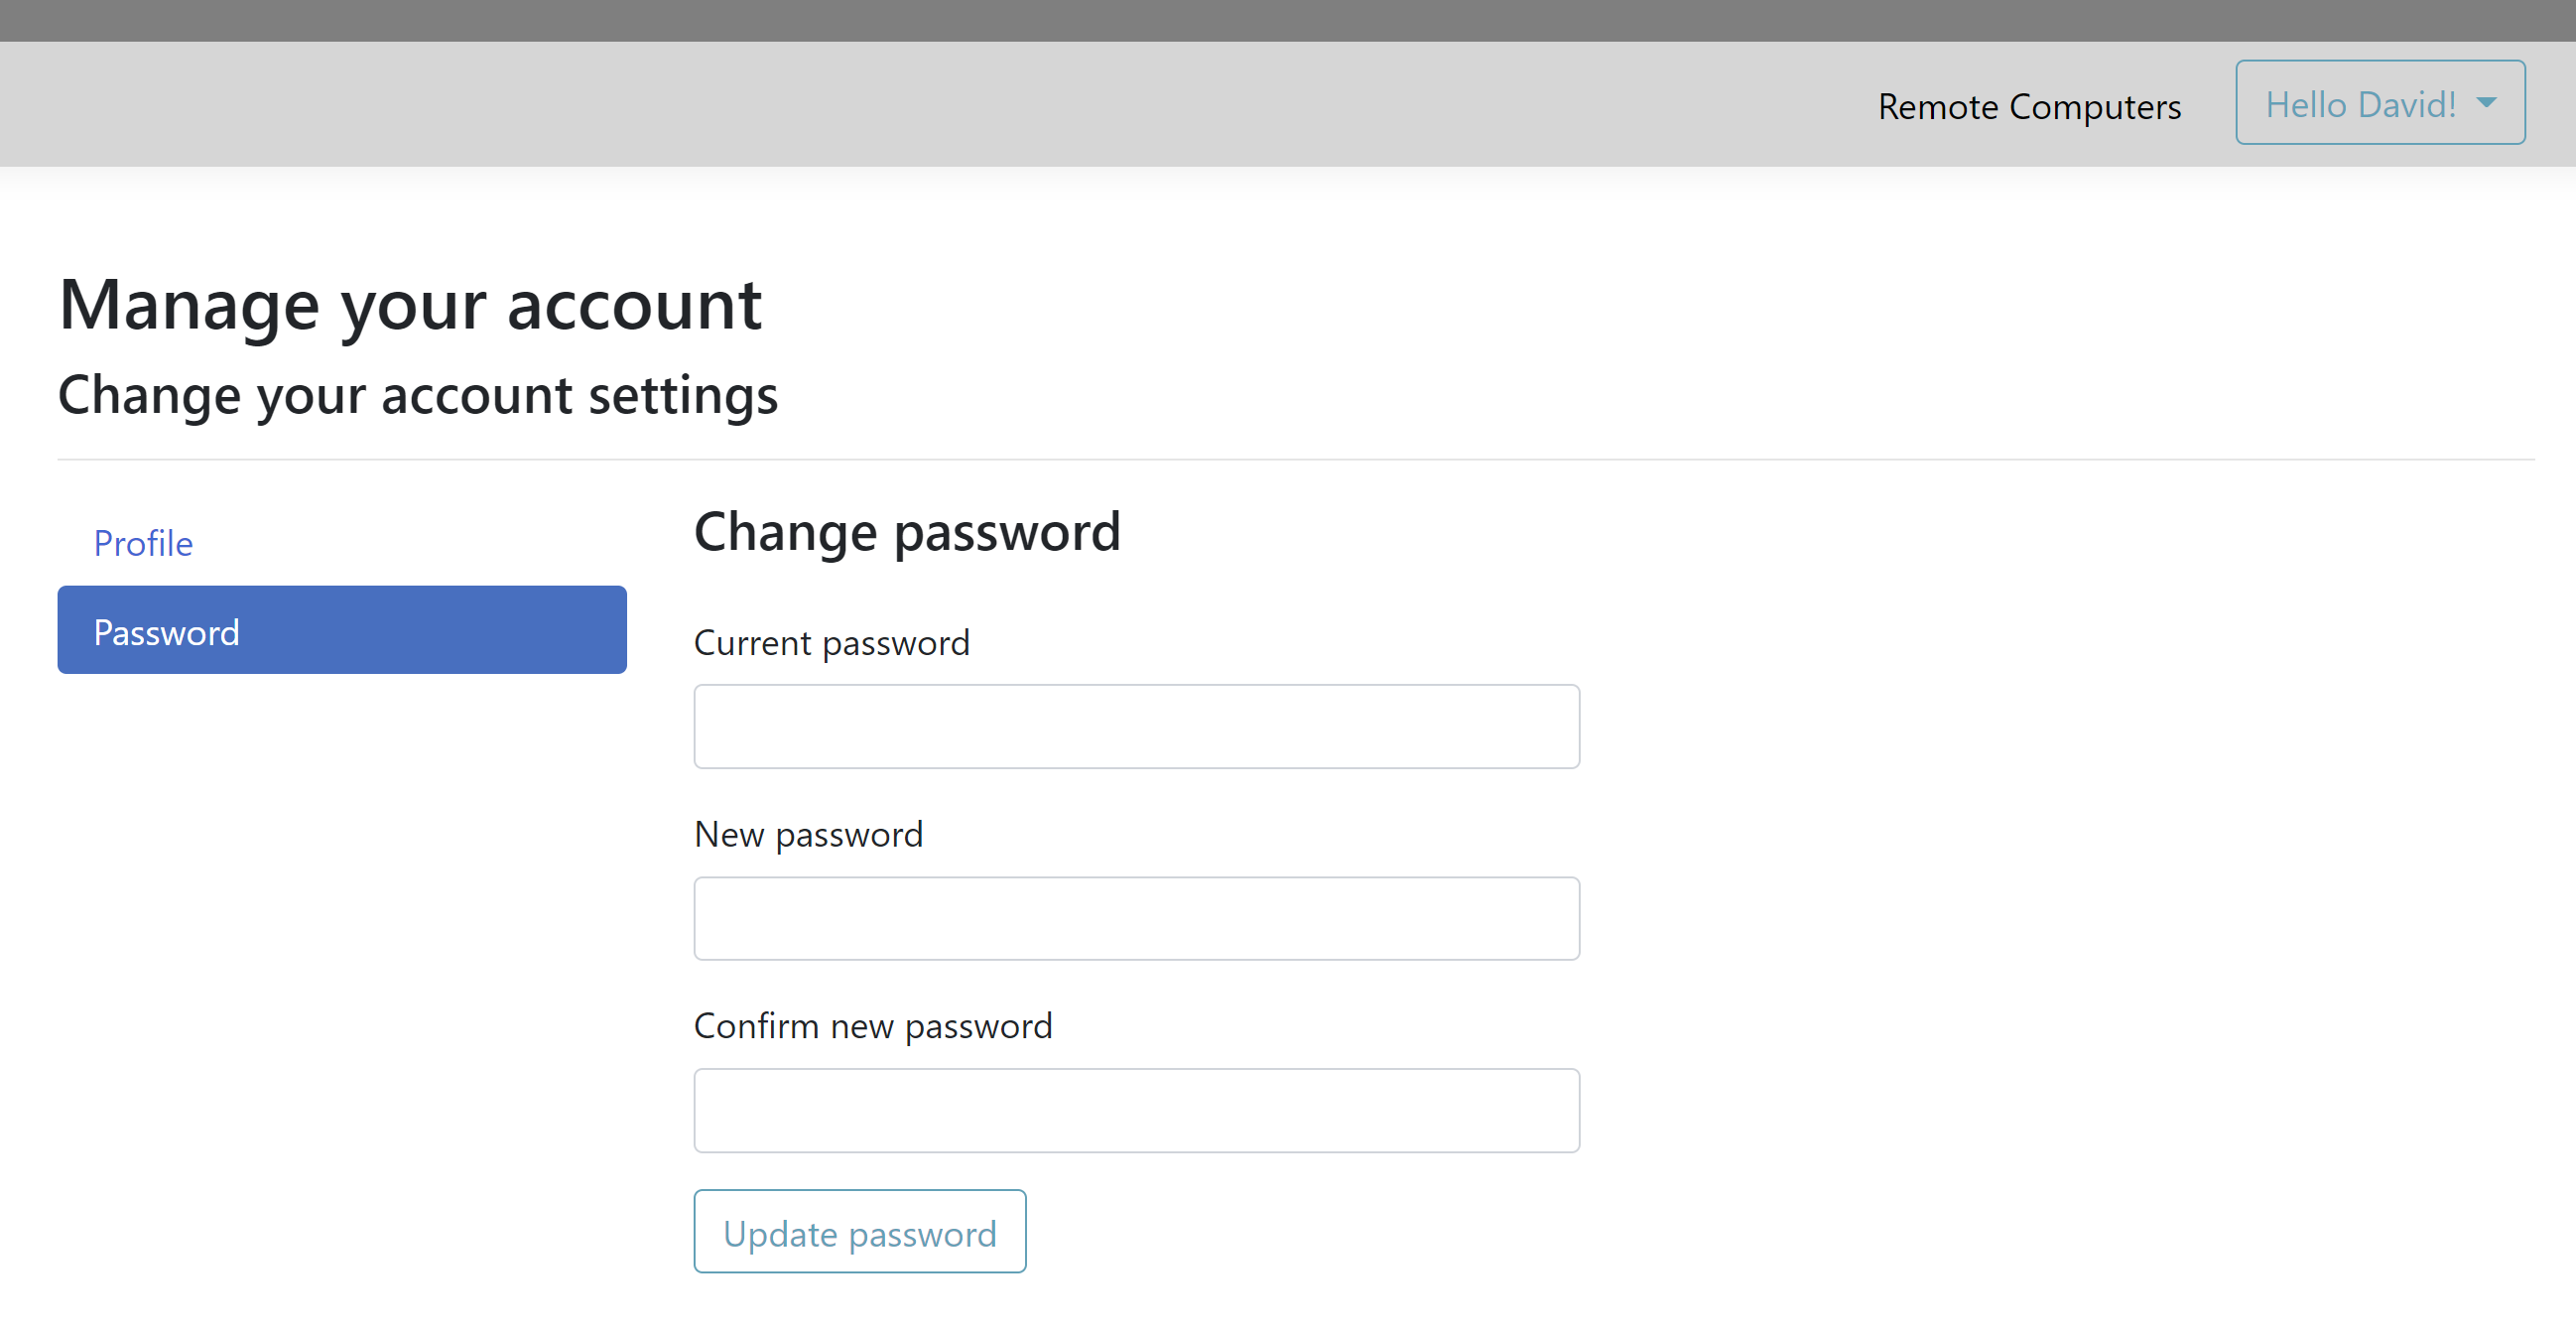
Gli agenti possono modificare il proprio nome, email e titolo da una semplice pagina di gestione dell'account.
Password
Gli agenti possono cambiare la propria password da una pagina standard di gestione delle password.
