Creazione e personalizzazione delle pagine di accesso web HTML utilizzando le preferenze del portale web e il design del portale web
Utilizzando il Design del Portale Web e le Preferenze del portale Web, sarai in grado di creare le tue pagine HTML di Accesso Web personalizzate - e c'è non è necessario essere uno sviluppatore web !
Design del Portale Web
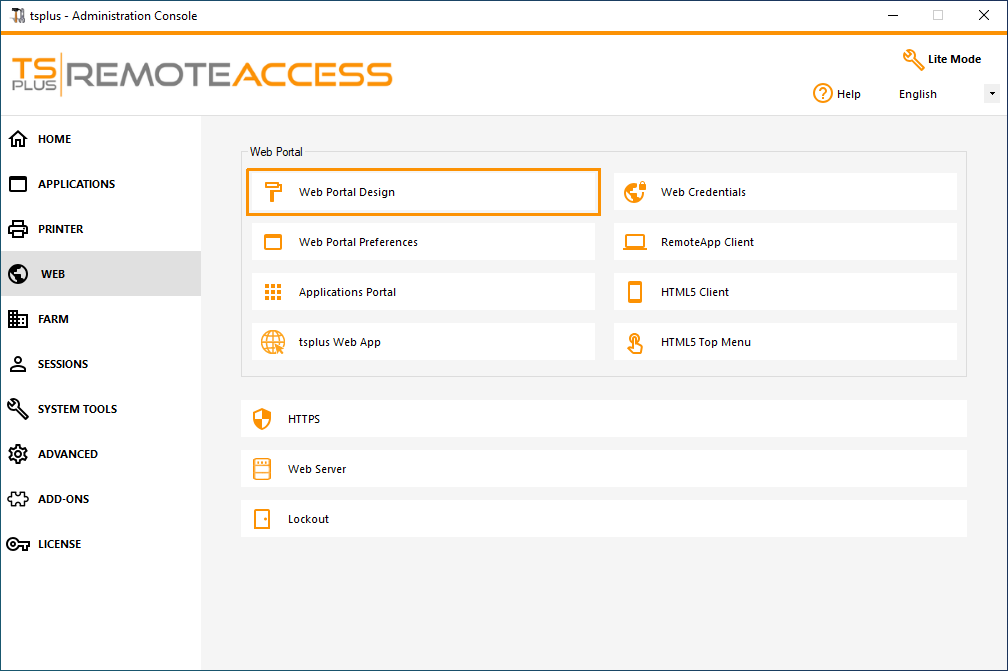 Con la scheda Design del Portale Web, sarai in grado di personalizzare tutte le impostazioni di visualizzazione e grafiche, oltre ad aggiungere il tuo logo. Hai la possibilità di scegliere tra una collezione di 20 foto, oppure puoi aggiungere le tue. Puoi anche impostare qualsiasi tema di colore con il colore di sfondo di tua scelta o puoi utilizzare uno dei temi classici.
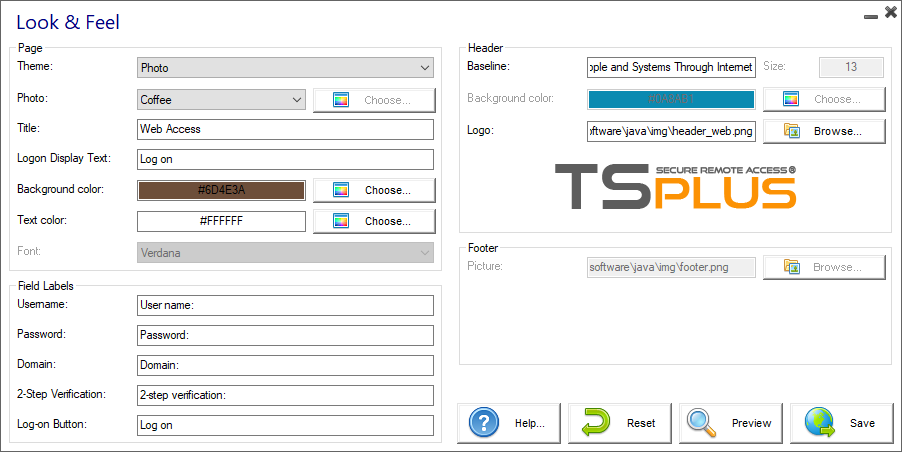 Alcuni suggerimenti avanzati:
- Non è necessario fare clic su un pulsante "Scegli..." se conosci già un codice colore: basta digitarlo nell'input.
- Fai attenzione alle dimensioni reali delle immagini: la tua pagina potrebbe apparire piuttosto brutta se un'immagine è troppo grande.
- Non esitare a utilizzare il pulsante "Anteprima" in basso, è veloce e facile!
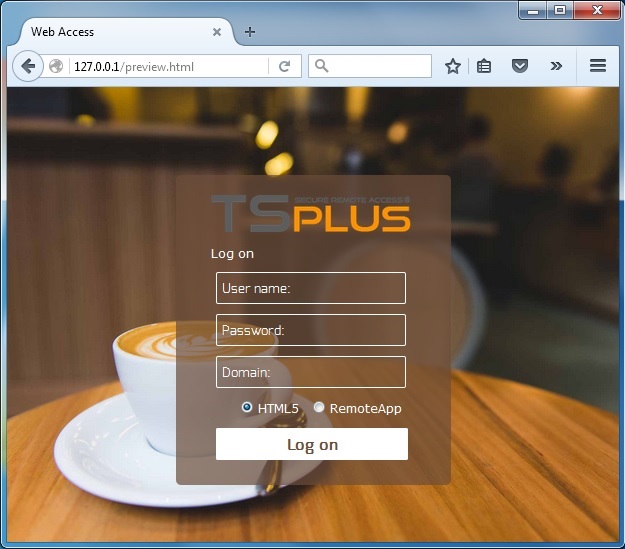 ### Salvataggio dei valori digitati e ripristino a quelli predefiniti
Quando chiudi questa finestra, tutti i valori che hai digitato e controllato vengono salvati.
Se desideri ripristinare questi valori ai valori predefiniti, fai clic sul pulsante "Ripristina" in basso.
Preferenze del Portale Web
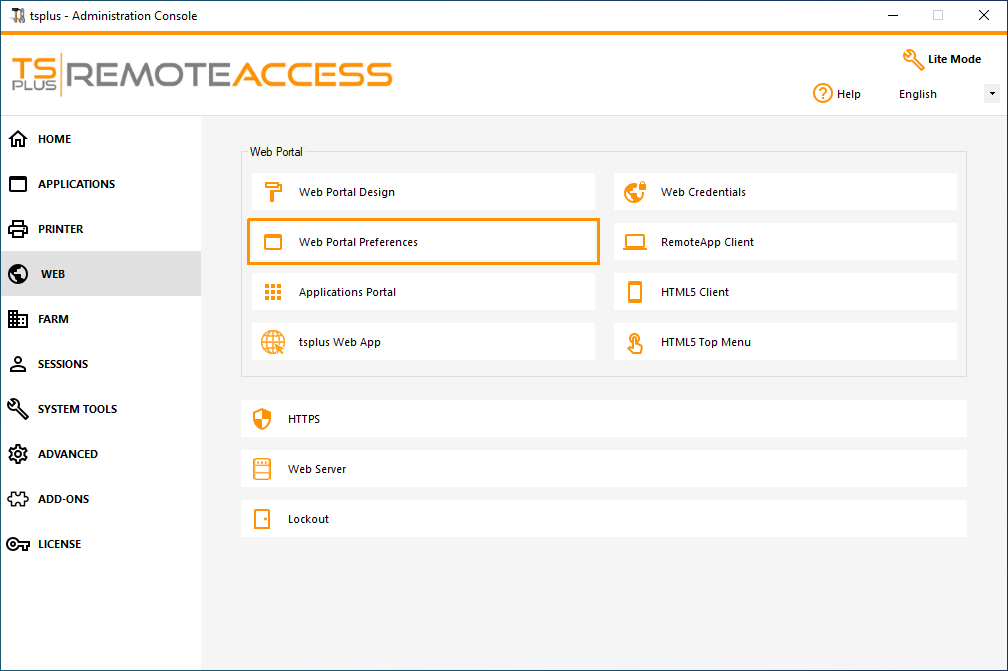
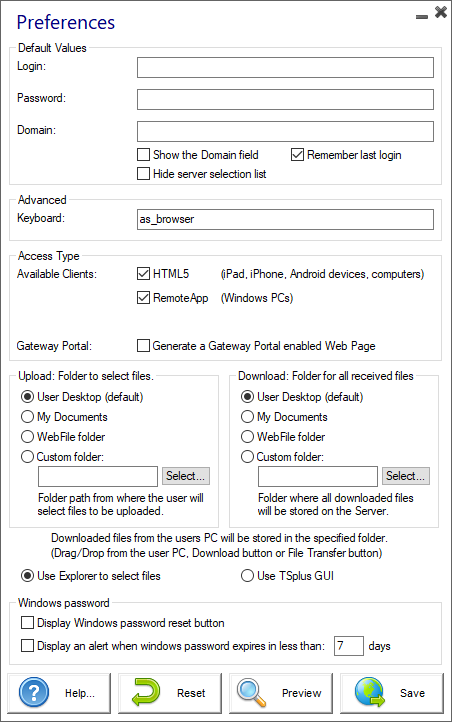
Questo riquadro ti consente di configurare la pagina di Accesso Web:
- “ Valori predefiniti : puoi specificare un login predefinito, una password e un dominio che compileranno automaticamente i campi di accesso. Tutte le impostazioni presenti qui sono salvate nel file index.html, che può essere copiato e rinominato a tuo piacimento.
- “ Mostra il campo Dominio Quando selezionato, il campo Dominio è incluso nella richiesta di informazioni di accesso.
- “ Tastiera solo per amministratori avanzati che hanno requisiti speciali per la tastiera.
- “ Clienti disponibili Scegli tra 2 tipi di client di connessione web. Se entrambi sono selezionati, l'utente avrà la scelta.
- “ Portale Gateway : controllalo per attivare una pagina abilitata per il Gateway Portal. Questa funzione aggiunge un ulteriore passaggio di autenticazione quando assegni un server a un utente o a un gruppo. (Maggiori informazioni sulla funzione Gateway possono essere trovate qui ).
- “ Carica - Scarica : scegli i percorsi di origine e destinazione per il caricamento e il download dei file.
Dal rilascio della versione 14.60 di TSplus, la sezione “Password di Windows” è stato aggiunto.
Da questa sezione, puoi ora aggiungere un messaggio di avviso che verrà visualizzato durante la connessione tramite il portale web, per informare l'utente sulla data di scadenza della sua password. Ad esempio, il seguente pop-up verrà mostrato se la password di Windows dell'utente scade tra meno di 3 giorni:
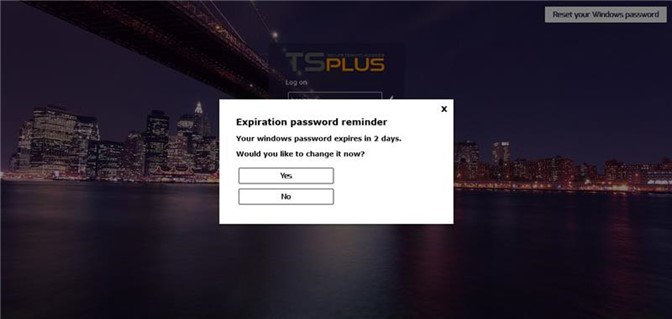
Come accennato, gli dà la possibilità di cambiarlo direttamente dal Portale Web utilizzando il pop-up visualizzato appena sotto:
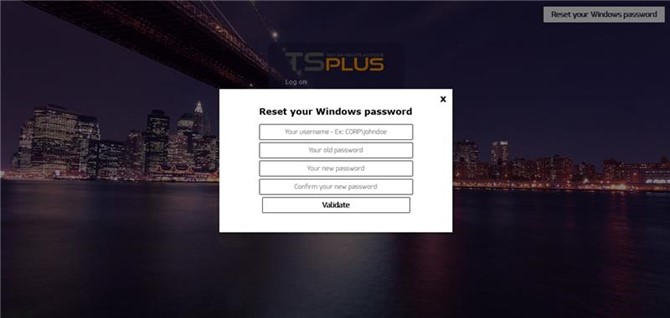
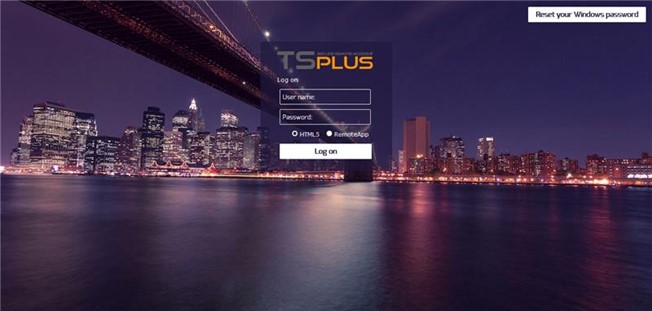
Puoi anche consentire direttamente all'utente di cambiare la propria password di Windows in qualsiasi momento, abilitando il pulsante "Reimposta la password di Windows" tramite le preferenze del Portale Web.
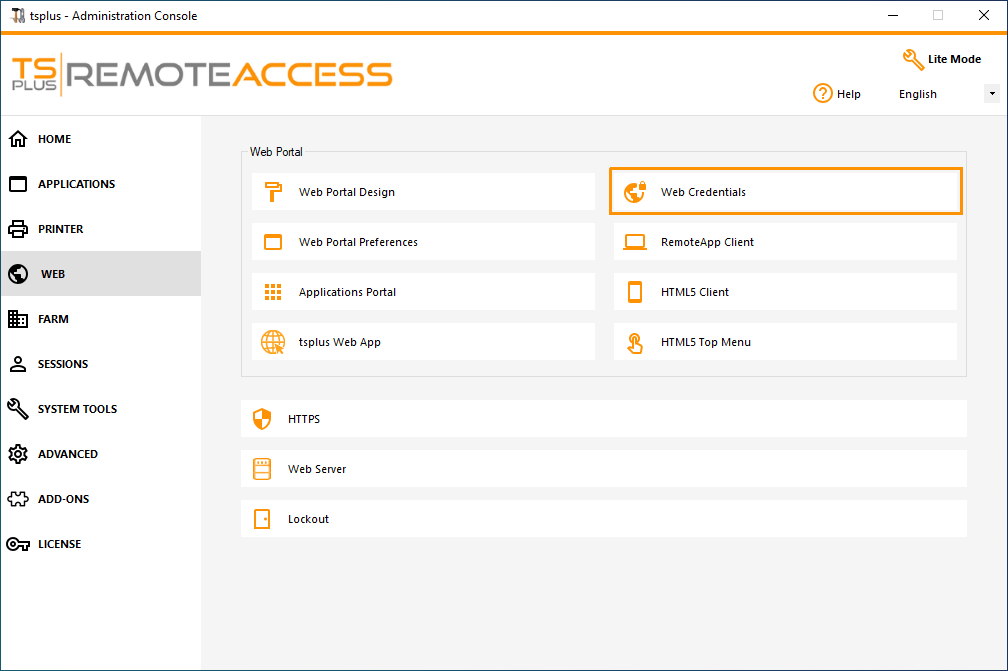
Credenziali Web
La sezione "Credenziali Web" consente di abilitare (o disabilitare) il Credenziali Web funzionalità.
Quando si utilizzano le Credenziali Web, potrebbe essere necessario consentire password vuote. Se si dispone solo di Credenziali Web con password vuote, si consiglia di deselezionare l'opzione "Mostra campo password", per semplificare ulteriormente la pagina di accesso web.
 ### Tile dell'applicazione remota
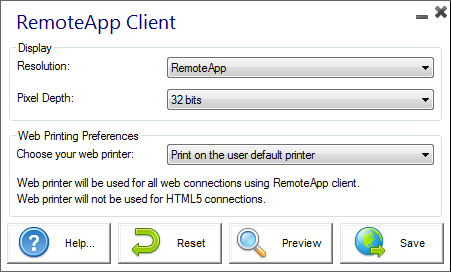
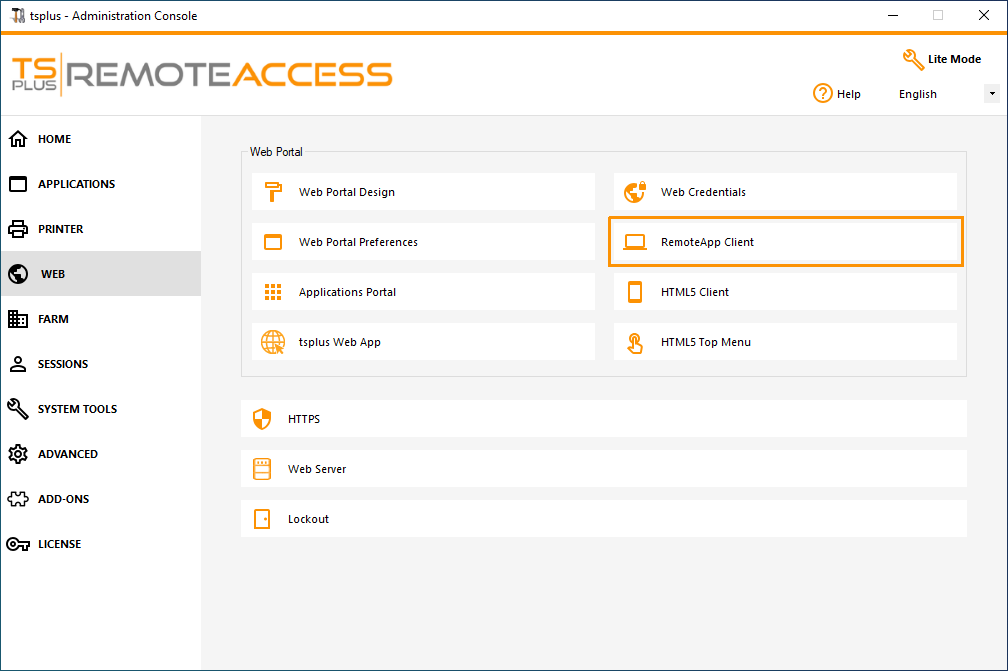 Questo riquadro è per le impostazioni specifiche dei client Windows.
Puoi scegliere la tua visualizzazione tra RemoteApp (connessione remota senza desktop remoto) o RDP standard. Puoi anche decidere se desideri che i documenti vengano stampati sulla stampante predefinita dell'utente, visualizzare un'anteprima locale o la scelta della stampante locale.
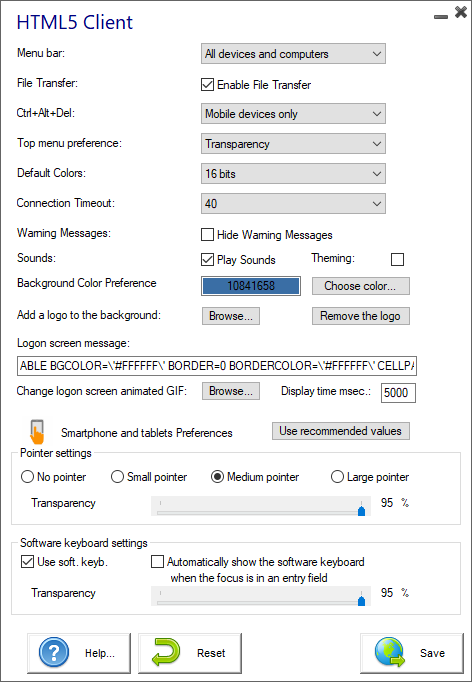
tile client HTML5
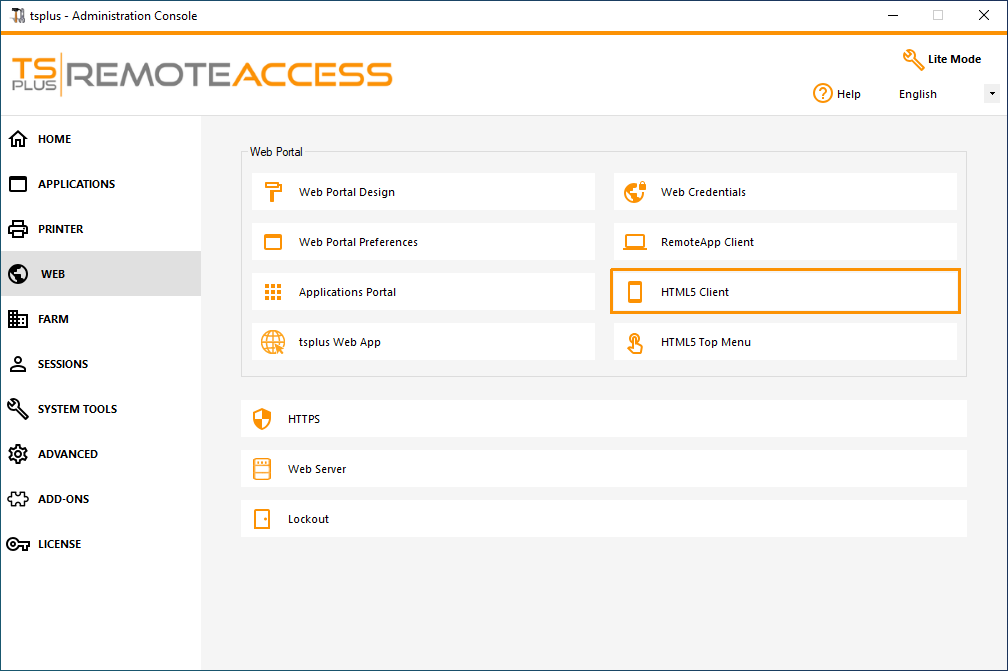
Su questa scheda, puoi modificare i parametri per la visualizzazione web del client HTML5. Maggiori informazioni su questa pagina .
HTML5 Top Menu Tile
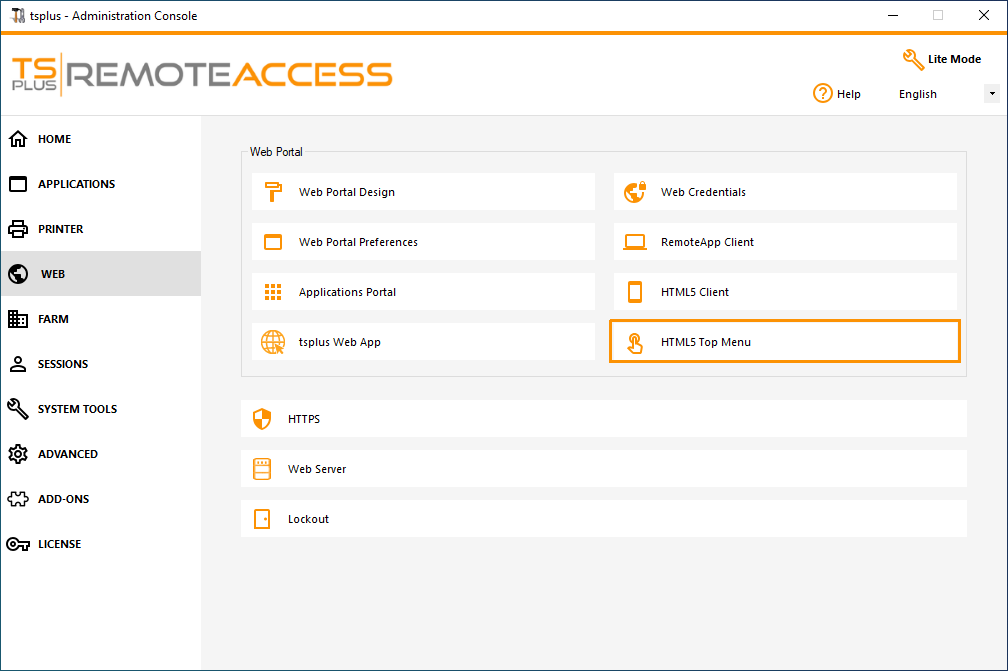
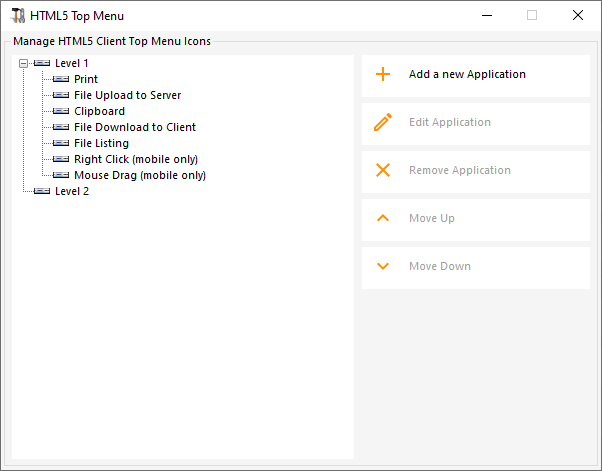
Questo riquadro ti consente di scegliere le applicazioni da visualizzare a livello 1 o 2 nel Menu Principale della tua sessione web remota generata. Puoi anche modificare queste applicazioni affinché appaiano su un tipo di client specifico: pc, mobile, ios… oppure su tutti.
 ### Generazione della pagina di accesso web HTML
Ti consigliamo di provare un "Anteprima" prima di generare una nuova pagina di Accesso Web HTML.
Una volta che sei soddisfatto dell'anteprima, puoi fare clic sul pulsante "Pubblica" per generare e pubblicare la pagina nella cartella radice del tuo server web.
Ti verrà chiesto un nome di pagina. Se desideri sovrascrivere la tua pagina predefinita, usa "index". In questo caso, la nuova pagina web pubblicata sarà accessibile a: http://your-server.com/index.html